by jphilo | Oct 30, 2013 | Recipes
Welcome back for the second recipe in the cornbread and chili series. Last week’s post featured non-dairy cornbread. This week’s features the chili recipe my mom used for years. The origin is unknown, though I suspect it’s a quick-and-easy version she created in her teaching-while-parenting-three-kids-caring-for-a-disabled-husband-and-going-to-college years. It may not win a chili cook-off contest, but it’s the taste I grew up with, and to my mouth, it’s wonderful.
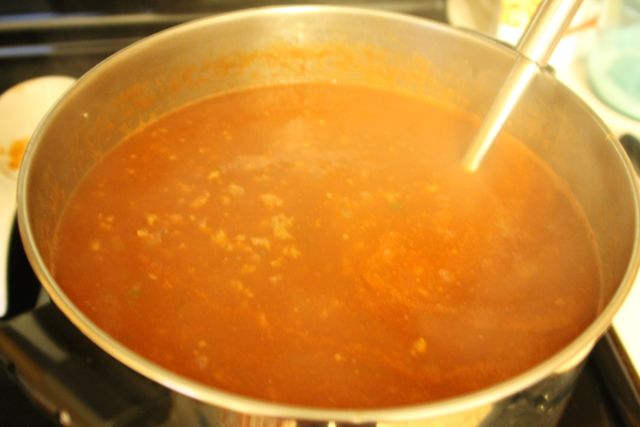
Mom’s Chili Soup
1 pound ground beef or ground pork, browned
1 medium onion, chopped
1–2 jalapeno peppers, seeded and chopped (not in original, kid-friendly recipe)
1–46 ounce can tomato juice
1–28 ounce can chili beans
1 tablespoon chili powder
salt and pepper
Brown meat in large soup pot. Drain off fat. Add onions and peppers. Saute for 5 minutes. Add tomato juice, beans, chili powder, and salt and pepper to taste. Heat to boiling. Simmer for 45 minutes to an hour.
This meal freezes well, so I often make a double batch and freeze one.
by jphilo | Oct 23, 2013 | Recipes
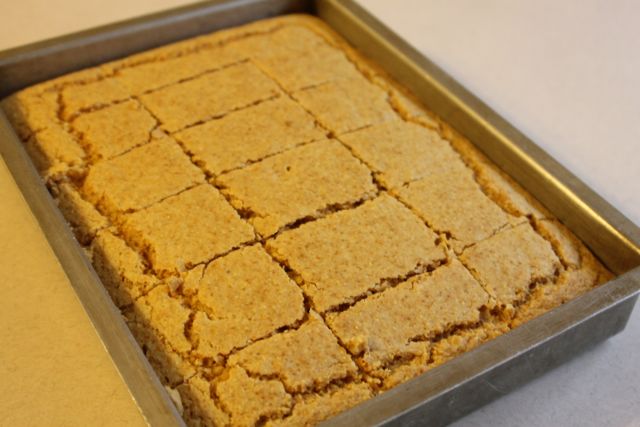
Cooler weather has arrived in Iowa, so it’s time to bring on the recipes that warm the body and the soul. One of my favorite chilly weather meals is chili* and cornbread. For years, I made the cornbread according to the recipe in the 1976 edition of the Betty Crocker cookbook. With only a few substitutions, it was easy to create a dairy-free version. It is every bit as tasty as the picture of the double batch above leads you to believe.
Easy, Dairy-Free Cornbread
1 cup cornmeal
1 cup unbleached flour
1–2 tablespoons sugar
2 1/2 teaspoons baking powder1/2 teaspoon kosher salt
1 cup almond, rice, or soy milk
1/4 cup vegetable oil (I use corn oil)
1 egg
Preheat oven to 425°. Spray a square pan with cooking spray. Blend all ingredients about 20 seconds. Beat vigorously for 1 minute. Pour into pan. Bake 20–25 minutes or until golden brown. Cut into 9 pieces and serve with honey, jelly, or jam on top.
*Come back next week for a super-easy chili recipe.

by jphilo | Oct 16, 2013 | Recipes
Which of the following is the real reason there’s no recipe today:
a.) This blogger gave up cooking for Lent…four months early.
b.) This blogger chose to watch Mad Men on Netflix last weekend rather than download the cornbread photo and schedule the recipe post ahead of time. Now she’s in a hotel in Grand Rapids, the camera’s in the car, and it was much easier to download a picture of a kitchen on fire than to run out to the car in the rain to get the camera.
c.) The kitchen’s on fire.
d.) All of the above.
Please leave your answer in the comment box and come back tomorrow when your grade is posted.
Photo Source
by jphilo | Oct 9, 2013 | Recipes
The good news is that we are done processing our portion of this year’s bumper crop of apples. (Insert crowd-going-wild noise here.)The bad news is that all the appl-ing left little time for trying new recipes for the second week in a row. (Insert groans of disappointment here.)
In light of this week’s good and bad news, today’s recipe for homemade applesauce is a variation of the crockpot applesauce, which debuted on this blog in November of 2011. Because I made so much applesauce this time around, I put the apples in our big soup pot instead of crockpot, so the directions below are slightly different from those for Crockpot Applesauce.
Homemade Applesauce
15–30 medium apples 2-3 cups water
¼ – ½ cup sugar (to taste) 2–4 teaspoons cinnamon
Scrub apples with vegetable brush. Quarter each apple (do not peel or core) and put them in large soup pot. Add water. Cook for 3–3 hours, stirring occasionally, until apples are soft and mushy. Place colander* over a large mixing bowl. Ladle cooked apples into a colander and press them through. When finished, stir sugar and cinnamon (to taste) into sauce. If sauce is thick, add a little water. Serve warm or cold. Store in the refrigerator for a week or freeze some to enjoy later.
If you prefer chunky applesauce, peel, core and slice the apples before putting them in the soup pot. Once the apples are soft, don’t run them through the colander. Just add sugar and cinnamon, and you’re done.
*This kind of colander:
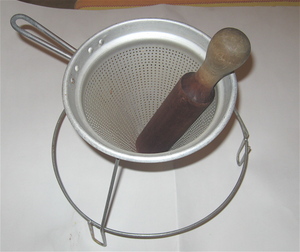
Photo Source
by jphilo | Oct 2, 2013 | Recipes
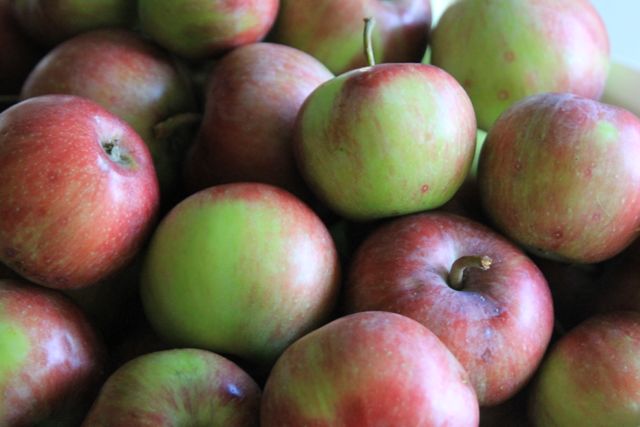
Hiram and I have been doing the Pa and Ma Ingalls thing for about a week now. Ever since our neighbor invited us to pick all the apples we wanted from their overloaded tree. We picked apples for about half an hour, and our efforts barely made a dent in the crop.
Even so, we’ve been busier than the crew in the little cabin in the big woods, making applesauce and freezing pie apples. With the freezer full to bursting, we had to come up with something else to do with all the apples. So we dug out the food dehydrator from the basement, cleaned it up, and put it to work.
All this apple-ing doesn’t leave much time to cook, so instead of a recipe, today’s post is dedicated to illustrating the process of drying apples. Here goes.
First, buy an apple peeler. (Ours is a Pampered Chef model via a garage sale.) Then set it up according to the instructions, and start peeling apples.
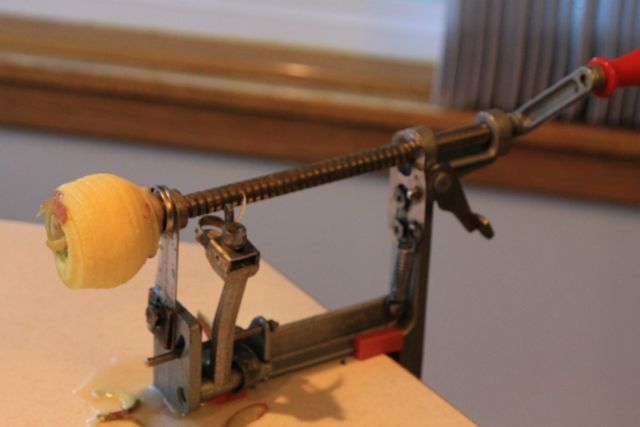
Once you pop the apple off the contraption, trim remaining bits of peel off the ends. Then slice through the apple spiral. Separate them into rounds and spread them on the dehydrator trays.
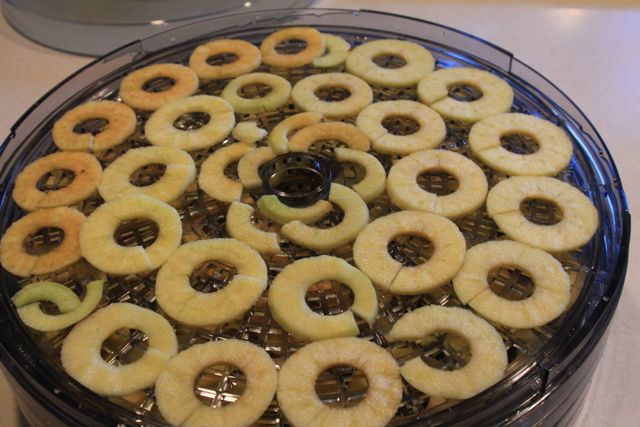
Stack the filled trays and place them on the base of the dehydrator. (Ours is another garage sale find.) Put the lid on top, and turn on the dehydrator. To facilitate more even drying of the apples, about halfway through reverse the order of the trays.
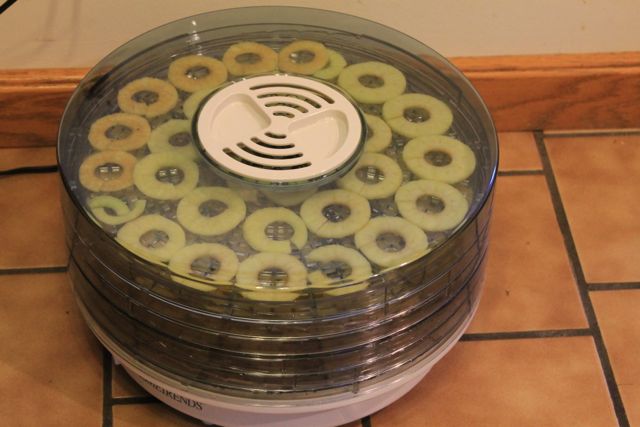
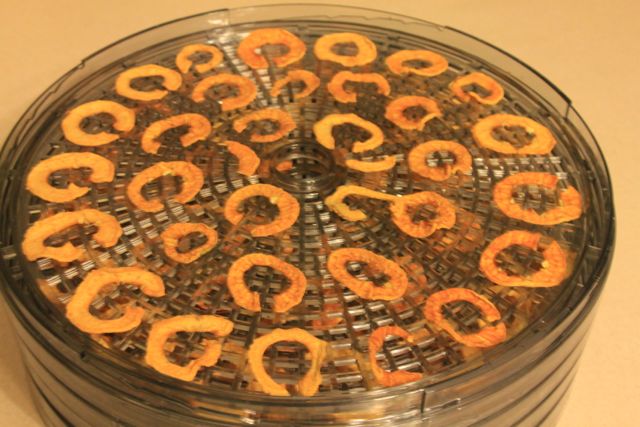
Let the dehydrator run until the apples are dried and shriveled–this step takes hours and hours–like this.
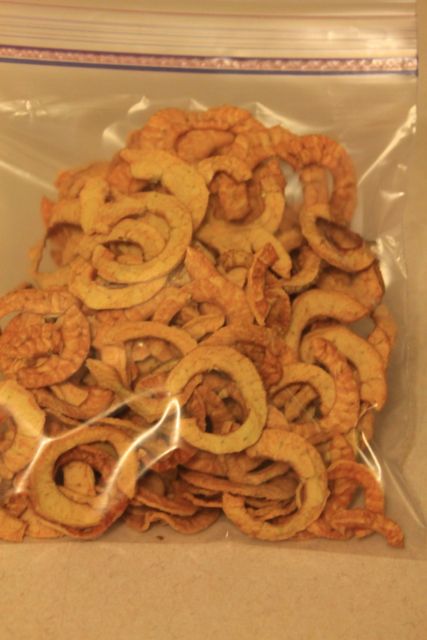
Pack the apples in an airtight container or zippered plastic bag for easy snacking.
Any questions? Any other food dehydrating tips? Leave a comment.
by jphilo | Sep 18, 2013 | Recipes
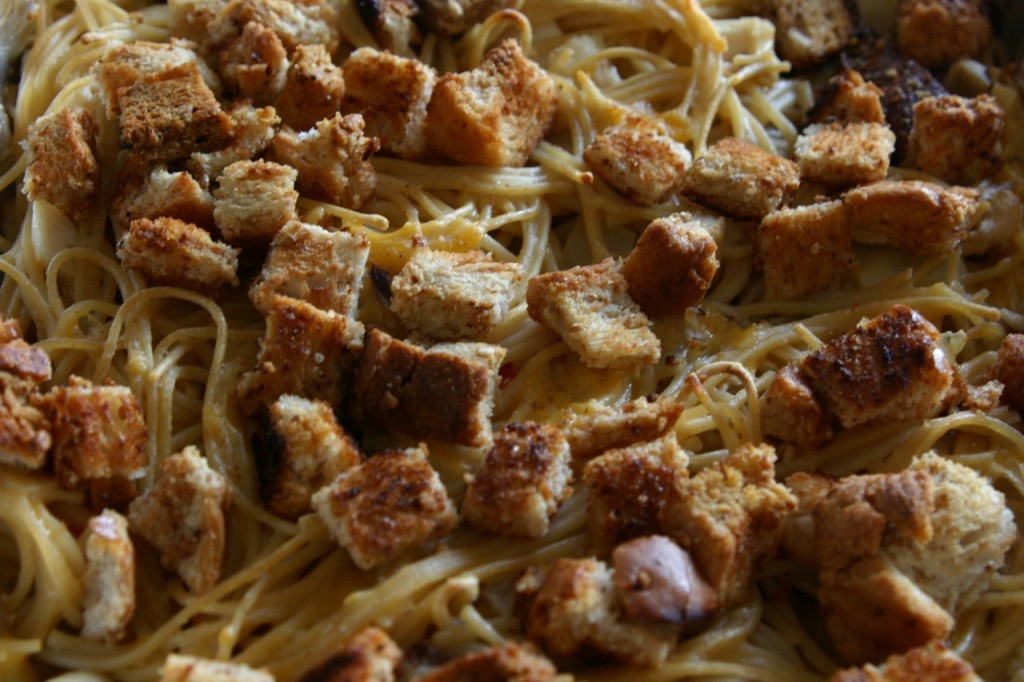
All this galavanting around Harding County, South Dakota doesn’t leave much time to test new recipes. So this week’s offering is one I first tasted in the early 1980s when we lived in Harding County. Here’s what I wrote about the recipe when it first appeared on this blog in February of 2011.
Today’s recipe is a family favorite at the Philo house. It comes from old South Dakota friends. Connie, who was Allen’s babysitter, served it often when our families had supper together. About six months after our move to Iowa, I developed a serious craving for tetrazzini. Finally, I called Connie, and she gave me the recipe over the phone. We had it for supper the next night, and it’s been a staple on our menu ever since.
Connie’s recipe was peppered with amounts like “half a chunk of cheese,” “some broth,” and “a handful of spaghetti noodles,” and my version hasn’t progressed much further. That means you can take the recipe and adapt it for your use, too.
A few FYIs are in order, too. First, chicken and turkey can be used interchangeably in this recipe, as can chicken and turkey broth. Second, this is a wonderful way to use turkey leftovers. Third, fix double or triple batches when cooking because it freezes well. Fourth, my recipe has no salt and pepper. People add those flavorings at the table, along with Parmesan cheese. Fifth, directions for a dairy-free version are at the bottom of this page.
Turkey (or Chicken) Tetrazzini
2 – 3 cups cooked, deboned, cubed chicken or turkey
1 cup shredded cheddar cheese*
1 1/2 cups chicken or turkey broth
3 tablespoons butter*
1/4 cup flour
1/2 cup onion, chopped
1/4 cup green or sweet red pepper, chopped
12 ounces spaghetti
6 slices of bread, toasted and cubed
1/4 cup melted butter*
Heat oven to 350 degrees. Put cubed turkey and cheese in a greased 9 x 13 pan. Cook spaghetti according to package directions and drain. Rinse with cold water and place in pan with turkey and cheese. Stir well.
While spaghetti is cooking, melt 3 tablespoons of butter in a sauce pan. Add onions and pepper. Saute until onions are transparent. Add flour and mix well. Slowly add broth, whisking and stirring constantly until it boils. Let it boil gently for one minute. Pour sauce over noodle/meat/cheese mixture and stir well.
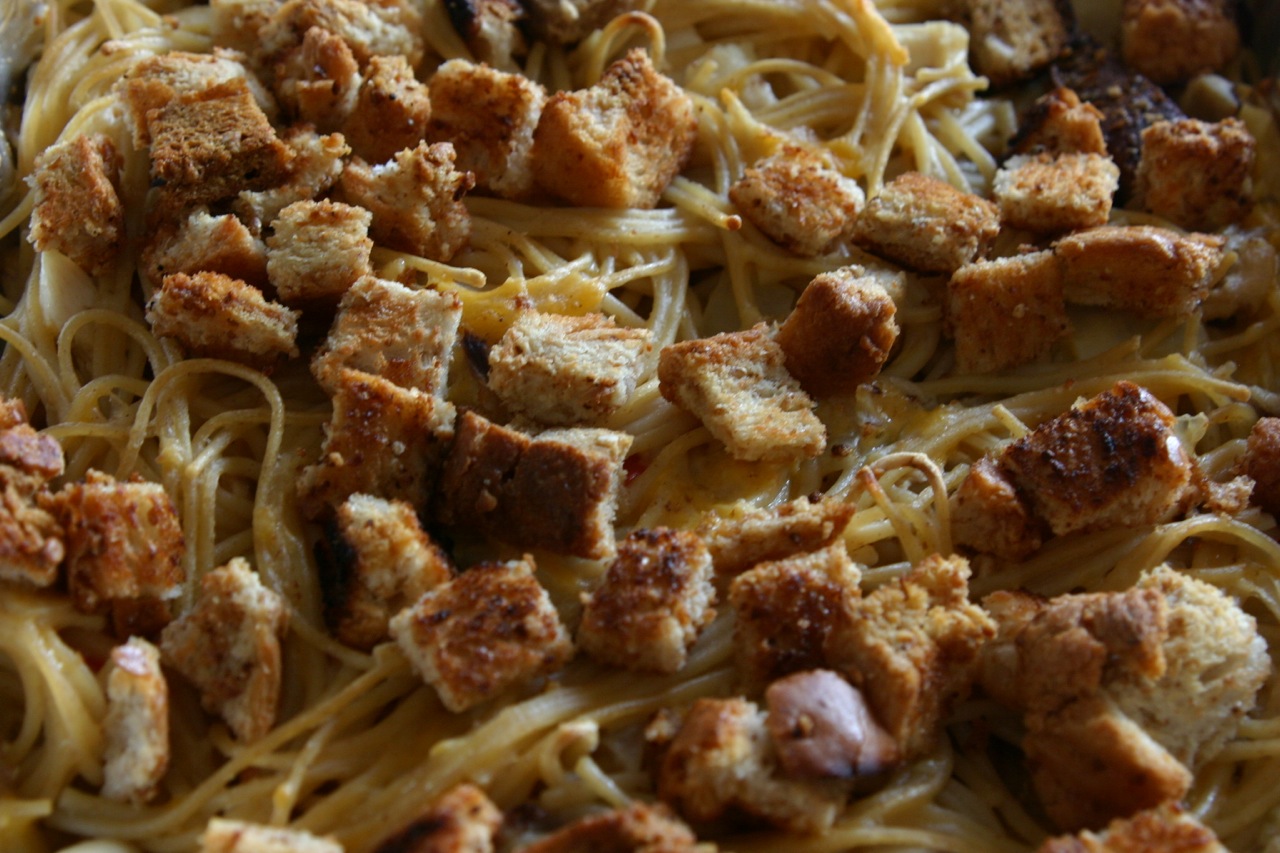
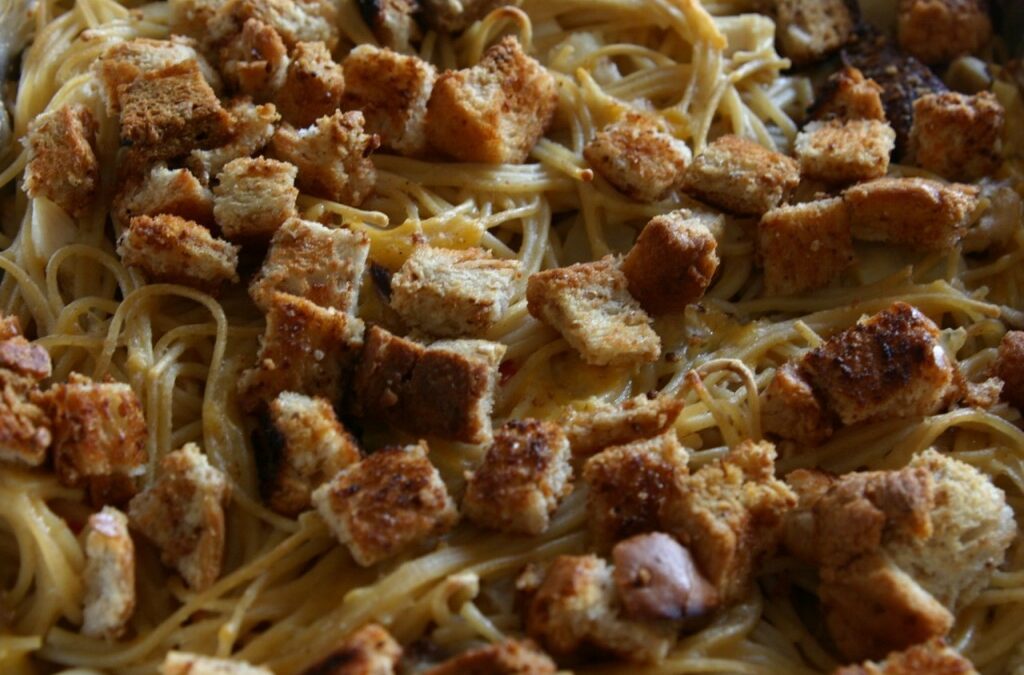
Toast the bread and cut into cubes. Drizzle with 1/4 cup melted butter and stir well. Sprinkle croutons over the noodle mixture. Bake for 1/2 hour. Serve with a green salad and fresh fruit. Yum!
*For a dairy-free version, replace the butter with Earth Balance buttery vegan sticks and omit the cheese.