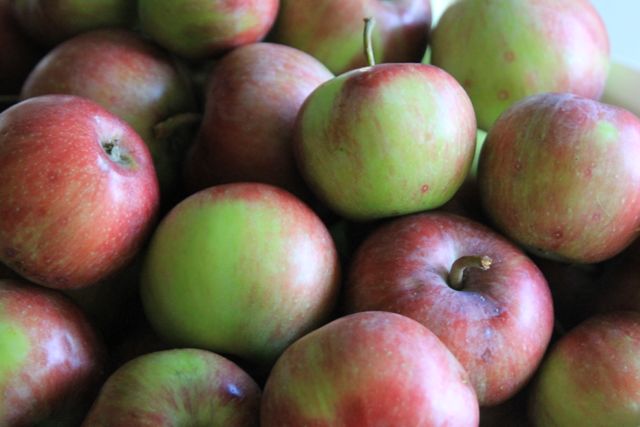
Hiram and I have been doing the Pa and Ma Ingalls thing for about a week now. Ever since our neighbor invited us to pick all the apples we wanted from their overloaded tree. We picked apples for about half an hour, and our efforts barely made a dent in the crop.
Even so, we’ve been busier than the crew in the little cabin in the big woods, making applesauce and freezing pie apples. With the freezer full to bursting, we had to come up with something else to do with all the apples. So we dug out the food dehydrator from the basement, cleaned it up, and put it to work.
All this apple-ing doesn’t leave much time to cook, so instead of a recipe, today’s post is dedicated to illustrating the process of drying apples. Here goes.
First, buy an apple peeler. (Ours is a Pampered Chef model via a garage sale.) Then set it up according to the instructions, and start peeling apples.
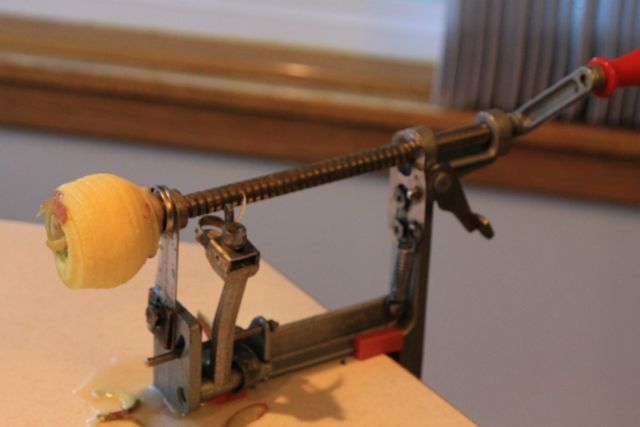
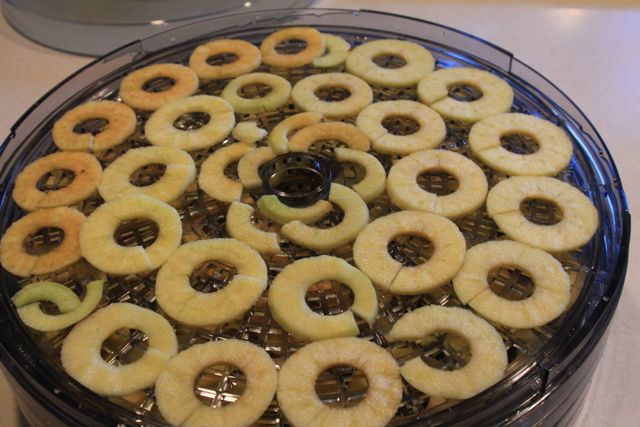
Once you pop the apple off the contraption, trim remaining bits of peel off the ends. Then slice through the apple spiral. Separate them into rounds and spread them on the dehydrator trays.
Stack the filled trays and place them on the base of the dehydrator. (Ours is another garage sale find.) Put the lid on top, and turn on the dehydrator. To facilitate more even drying of the apples, about halfway through reverse the order of the trays.
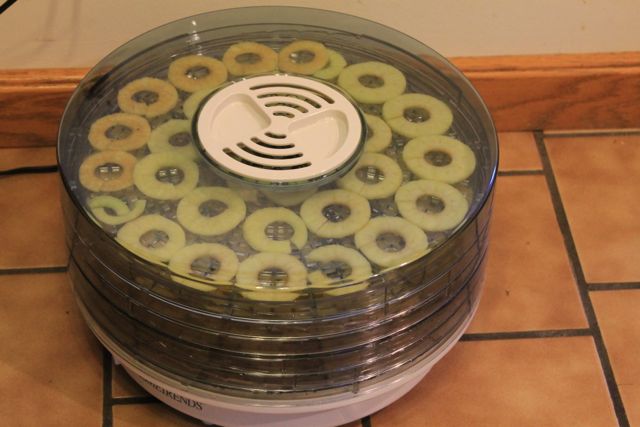
Let the dehydrator run until the apples are dried and shriveled–this step takes hours and hours–like this.

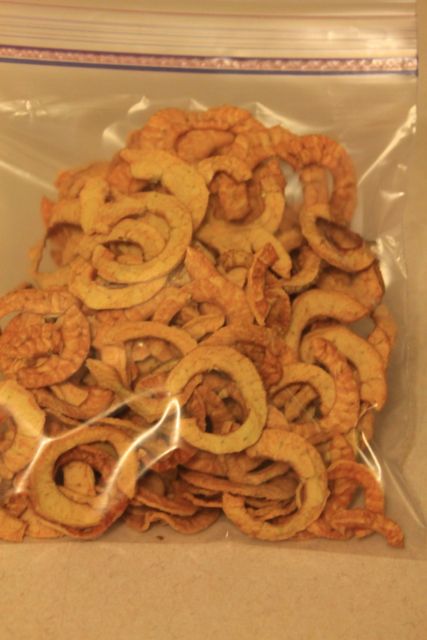
Pack the apples in an airtight container or zippered plastic bag for easy snacking.
Any questions? Any other food dehydrating tips? Leave a comment.

I usually treat light colored fruit with ascorbic acid (vitamin C) or lemon juice to help prevent darkening. My husband and grandson like apple chips, so I think I’ll try making some.
We have had oodles* of apples here, too.
* Latin for “Yikes! what am I going to do with all of these?”
Lemon juice is a good idea, Connie. I use it before freezing apple slices, but not for dried fruit. I’ll have to try it for both. Best wishes using all those apples!