by jphilo | Apr 15, 2015 | Family, Recipes
In the past 4 weeks, I’ve attended 2 conferences in Virginia, recovered 2 times from jet lag, and became acquainted with a new grandson. All of which has left very little time for testing new recipes in the kitchen. So this week’s recipe for chai tea is one of my favorites that has appeared on this blog before. It’s also a favorite of my daughter who’s new mama of our beautiful new grandson. Bottoms up!
My daughter Anne loves chai tea. I’ve tried it a few times at my favorite coffee shop. Though I love it’s spicy, mellow flavors, most chai teas are too sweet for my taste. But when USA Weekend Magazine (Jan. 20-22 edition) published Pam Anderson’s recipe for chai tea concentrate, I decided to give it a try.
The biggest challenge presented by the recipe was finding all the spices. Thankfully, we have a bulk food store nearby, and I was able to find everything there. (Did you know cardamom costs $70+ a pound? Thankfully, they sell it by the ounce!) Other than gathering the ingredients, this recipe was easy to follow.
Compared to the cost of specialty drinks at the coffee shop, this recipe is a bargain, even with the price of cardamom. Not only that, Hiram gave the hot chai drink his coveted seal of approval. The ingredient list for the recipe below matches the original one exactly. But, I added more details to some of the directions.
DYI Chai Tea Concentrate
4 teaspoons each ground ginger and cinnamon
4 teaspoons fennel seeds, ground (I ground them in a coffee grinder)
2 teaspoons each ground black pepper, cardamom and corriander
1 teaspoon ground cloves
1/4 cup loose black tea such as Earl Grey
3/4 cup blue agave
2 tablespoons molasses
4 teaspoons vanilla extract
1 tablespoon fresh lemon juice
Heat spices in a heavy-bottomed medium saucepan over medium-low heat, stirring constantly until fragrant and smoke starts to rise, a couple of minutes. (This sounds so weird, but it works!) Add 1 quart of water and tea; bring to a simmer.
Remove from heat, cover and let steep for about 10 minutes. Strain out tea and spices. (I strained out the tea and ground spices by lining the strainer with a cloth.) Stir in agave, molasses, vanilla, and lemon juice.
To serve, combine 1/4 cup concentrate with either 3/4 cup hot or cold milk (or milk substitute) or water. The rest can be covered and refrigerated up to a couple weeks until ready to use. (The photo shows the concentrate in the background and a cup of tea made with 1/4 cup concentrate and a 3/4 cup mixture of equal amounts of water and milk or milk substitute.)
by jphilo | Apr 8, 2015 | Recipes
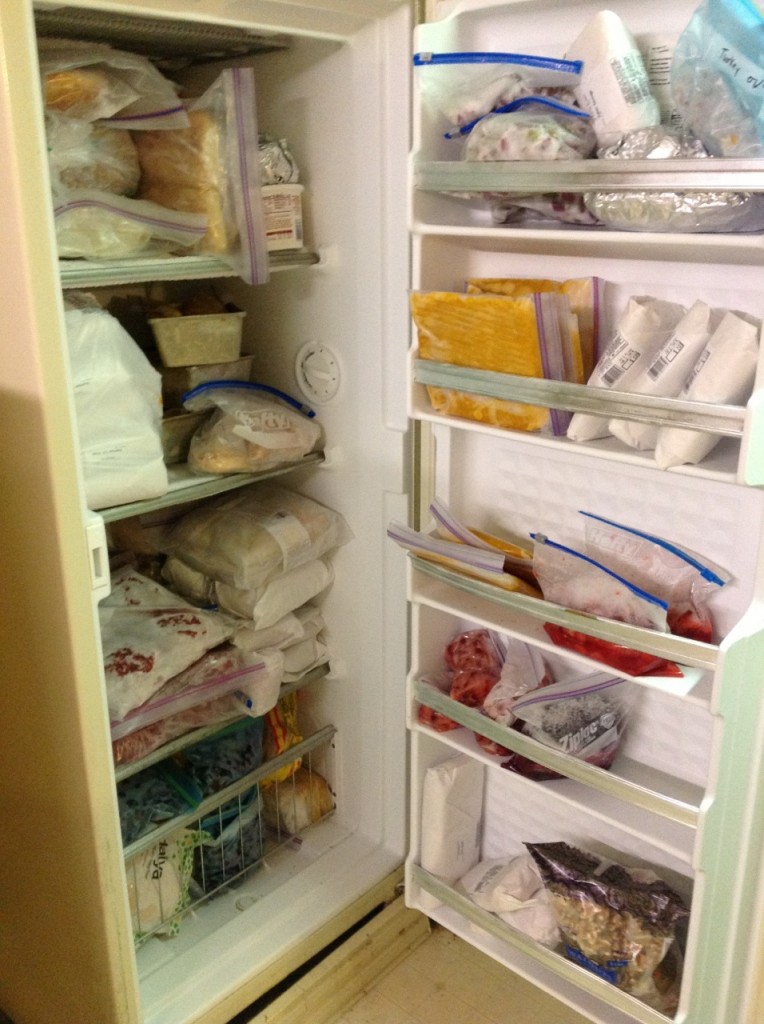
For the past several months, I’ve been creating and freezing meals for my son and daughter-in-law and for my daughter and son-n-law, all parents of the 2 most adorable babies born in 2015. I have lost count of how many meals I’ve cooked, frozen, packed in coolers, and hauled to Wisconsin on the weekends we’ve visited.
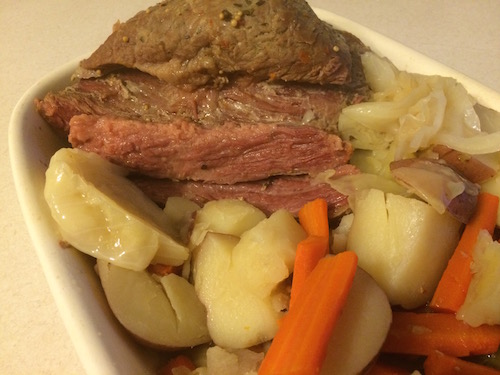
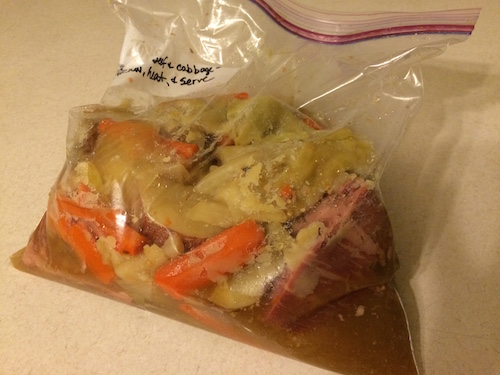
The freezer meal binge ended well with this recipe for slow cooker corned beef and cabbage. It originally appeared at the Family Fresh Meal site. I made a double batch so we could eat some for supper and have enough left over for a freezer meal for each family. One batch went into the slow cooker (and the batches are big) to cook all day. The other was cooked in my big cast iron dutch oven in a 250 degree oven. It was done about 2 hours sooner than was the slow cooker. The adjusted times for adding vegetables for the oven version are in parentheses.
The meal was delicious and received the coveted Hiram seal of approval. I hope the frozen meals (3 gallon bags full) are just as good.
Slow Cooker Corned Beef and Cabbage
5-6 garlic cloves, crushed
1 small onion, cut into wedges
3 cups of water
2 tablespoons sugar
2 tablespoons vinegar
8 ounce beer (I split a 12 ounce bottle between the 2 batches and had plenty of broth)
3 pounds corned beef brisket
1 pound carrots (about 4) peeled and cut into strips
1 pound small red potatoes, quartered
1 pound head of green cabbage, cut into wedges
Place onion wedges and garlic at the bottom of slow cooker. These will act as a stand for meat, so it doesn’t touch the bottom and dry out. Place beef on top of onions and garlic.
Next, mix together water, beer, sugar and vinegar. Pour over beef and then sprinkle seasoning packet that came with the corned beef over meat.
Set the slow cooker on low and cook for 8 hours. (For dutch oven method, cook in 250 degree oven for 6 hours.)
After 4 hours of cooking, add in potatoes and carrots. (Add potatoes and carrots after 3 hours for dutch oven method.) Cover and continue cooking.
When 1 hour remains (40 minutes for dutch oven), add quartered cabbage and cook the remainder of the time. Serve hot with broth on the side for dipping and drizzling. Yum!
For freezer meals, allow the meat and vegetables to cool, place in zippered freezer bags and place in freezer, like this:
Cover and continue cooking
by jphilo | Apr 1, 2015 | Recipes
Last Sunday, our church once again held the Annual Taco Buffet and Dessert Auction to raise scholarship funds to send kids to church camp. Once again, I prepared Mexican rice for the buffet, as well as a crumb top apple pie and a crumb top strawberry-rhubarb pie for the auction. Not because I’m an incredibly generous person, but because preparing them myself meant I would have dairy-free items to eat.
Since posting the recipe for Mexican rice last year, it has had the highest number of hits for any Gravel Road posts ever. So in case you missed seeing it on Pinterest or pinning it yourself, here’s the recipe again. Enjoy!
Mexican Rice
Olive oil
1 medium onion, chopped
4 cloves garlic, pressed
2 cups brown rice
2 cans Rotell tomatoes, undrained
2 cups chicken or turkey broth
1 teaspoon kosher salt
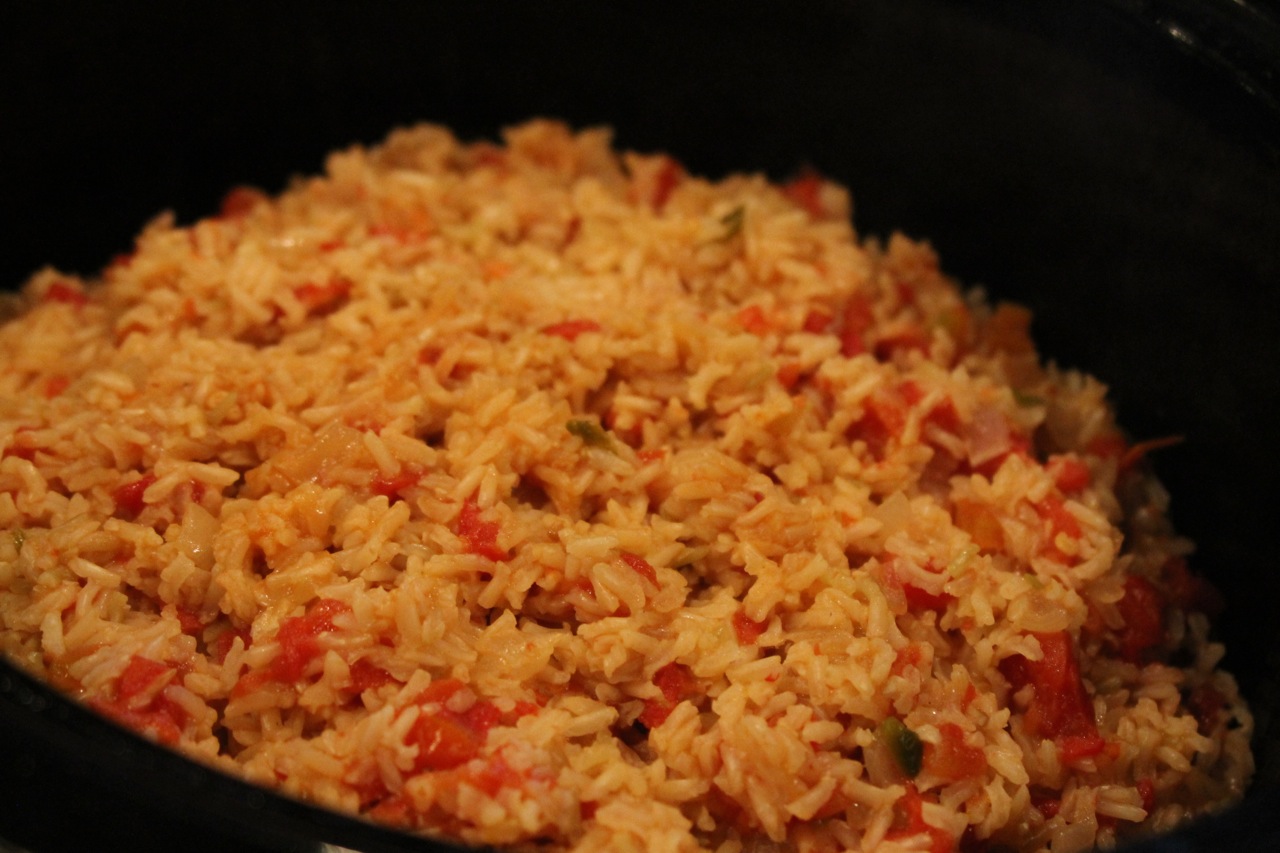
Heat a little olive oil in large skillet. Add onions and saute for a few minutes. Add rice and stir well. Add garlic and continue to stir until rice starts to turn golden-brown. Add tomatoes and stir. Add broth, bring to a boil. Turn down to simmer. Cover and cook for 30-35 minutes. Stir every ten minutes or so. Add more broth or water if needed, until rice is cooked and tender and liquid is absorbed. Serve hot.
P.S. The picture above is of a double batch.

by jphilo | Mar 11, 2015 | Recipes
Today’s recipe comes from my daughter. She’s the ultimate DYI cook who makes almost everything from scratch. During our last visit, she whipped up a batch of whole wheat tortillas that were absolutely scrumptious. So yesterday, when I gave the crockpot chicken fajita recipe another whirl. Since I had proactively scribbled the recipe on the back of a sales receipt and stuffed it in my purse during our visit, I didn’t even have to call and ask her for advice.
Whole Wheat Tortillas
2 1/2 cups whole wheat flour
1/4 cup olive oil
1 teaspoon salt
1 cup warm water
Mix salt and flour together in a bowl. Add oil and work it in. Mix in water until the dough holds together (add a little more water if needed).
Sprinkle a little corn meal on the counter and turn out dough. Knead a few times. Divide the dough into 12 balls. One at a time, press each ball into a pancake shape.
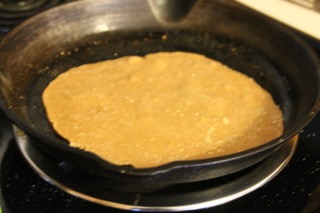
 Roll out into a very thin circle. (Getting the hang of rolling them into a circle takes practice. I nailed it by the 12th tortilla!)

Place a little olive oil in skillet. Heat skillet on stove (medium to medium high heat). Put tortillas in skillet one by one. Cook for a minute or two, until the tortilla gets a bit bumpy.
 Then flip and cook for a minute longer.
 These are best served fresh and warm with fajitas, tacos, or anything else that uses tortillas. They can also be stored in a Ziplock bag in the fridge for several days.

by jphilo | Mar 3, 2015 | Recipes, Top Ten Tuesday
The winter of 2014-15 has been a long one. At this house that’s a good thing because with two new grandbabies, I’ve been cooking up freezer meals to make life easier for the two sets of new parents. These ten recipes have received thumbs’ up from the parents…when they have the energy to lift their arms, that is.
10. Slow Cooker Pork and Veggies: Easy to make, and it received both the New Parents’ Thumbs Up and Hiram’s Coveted Seal of Approval.
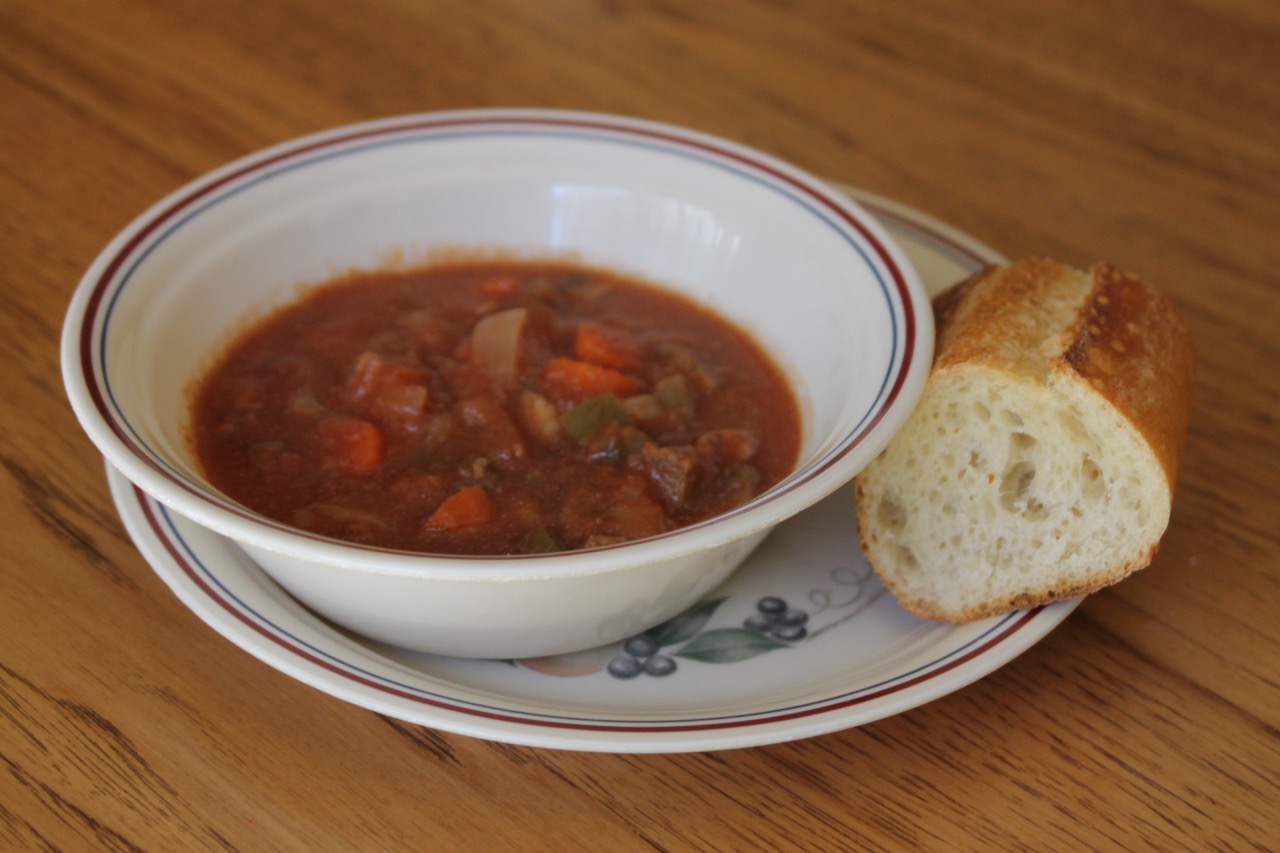
 9. Hearty Hamburger Stew: This one isn’t a slow cooker recipe, but it’s very easy to throw together and doesn’t require much cooking time.
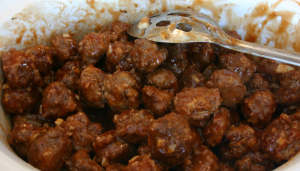
 8. Barbeque Meatballs: These take a little longer to put together, but they don’t take up much freezer space.
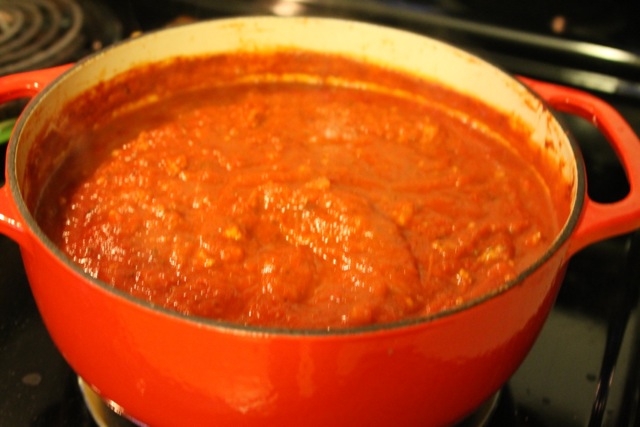
 7. Spaghetti Sauce: This sauce can cook on top of the stove or in the crock pot. But a double batch won’t fit in a crock pot. Don’t ask me how I know this.
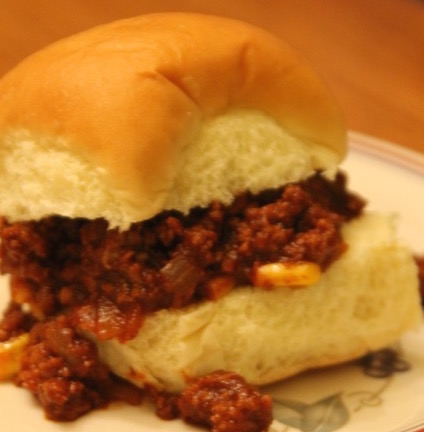
 6. Turkey-Veggie Sloppy Joes: Though I’m not usually a fan of Sloppy Joes, these are very good…almost like a casserole in a bun.
 5. Crock Pot Chicken Fajitas: As I said a few weeks ago when this recipe first posted, it’s about the easiest recipe ever. And it freezes really well.
 4. Minestrone: Another winner of Hiram’s Coveted Seal of Approval and the New Parents’ Thumbs Up. The cook likes it, too, because it tastes like it’s a lot of work, but it’s not.
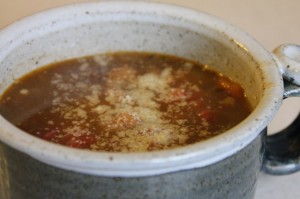 3. Italian Wedding Soup: Yet another double winner. The other day, I tried it with ground turkey instead of ground beef, and it tasted just the same.
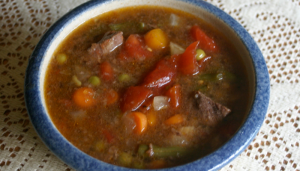
 2. French Stew: If you visit this website frequently, you’ve probably seen this recipe before. It’s a family favorite, easy to freeze, crock pot friendly, and delicious.
 1. Chicken (or Turkey) Tetrazinni: Whenever I offer to make freezer meals for the kids, this is the one recipe they request every time.
 Is your mouth watering yet? Mine is. If you’d like more recipes, check out the post for Gravel Road’s Top Ten Freezer Meals compiled a couple years ago. And if you have a bang up freezer meal, give it a shout out in the comment box.

by jphilo | Feb 25, 2015 | Recipes
Today’s recipe falls into the this-looks-like-a-good-freezer-meal-to-take-to-my-daughter-when-her-baby-is-born category. And since that baby is due in early April, February is none to soon to test some new dishes before investing in double batches and freezer bags.
This recipe comes from the Eat at Home website, and it was unbelievably easy to put together. And because once it’s served, diners can add their own toppings, I could make mine non-dairy (as in the photo above) while the Man of Steel piled his high with cheese and sour cream.
I will do a few things differently before preparing it again. First, the chicken breast seemed a bit dry, so I’ll try hindquarters next time. Second, I’ll cook it on low rather than high as the meat was fall apart done long before the suggested cooking time. Third, I’ll spread my tortillas with refried beans to add another layer of flavor.
Crock Pot Chicken Fajitas
1 pound boneless, skinnless chicken breasts or 2 pounds skinless chicken hindquarters
3 peppers, sliced (green, yellow, orange, or red)
1 large onion, sliced
1 package taco seasoning
Place sliced vegetables in the bottom of the crock pot. Put meat on top and sprinkle with taco seasoning. Cook on low for 6 hours or on high for 3 hours. Remove meat from pot and cool. Shred with a fork and place back in crock pot. Stir everything well.
Serve hot on tortillas. Top with your favorite toppings: salsa, cheese, sour cream, guacamole, lettuce, onions, olives. Spread refried bean on the tortilla first, if you like.