by jphilo | Sep 9, 2010 | Recipes
Warning: These cookies are addictive. Unless you like to live dangerously, don’t read another word.
Truth be told, all the food at Idaho Family Camp is addictive. Every time a nummy recipe is posted, I’m enabling an addiction. Usually it’s my addiction. But post-wedding and post-family camp, inundated with veggies from our CSA, and deep into a twelve step, healthy eating program (which means Hiram puts the key to the padlocks on the fridge and pantry twelve steps up on a ladder I’m scared to climb), I’m feeling strong enough to resist temptation.
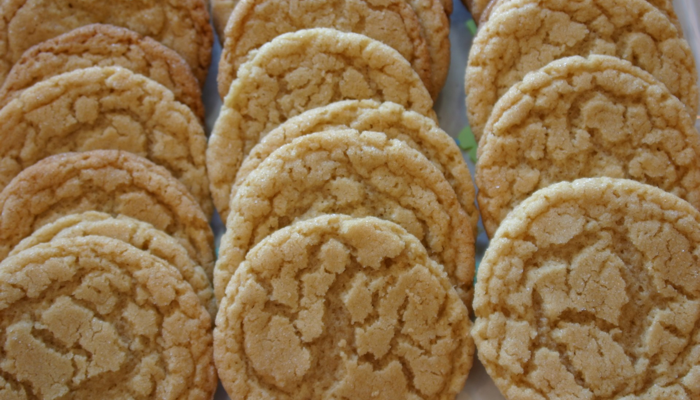
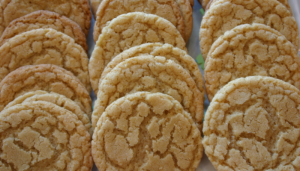
I’d never tasted these before or even heard of them before this summer. Brown sugar snaps are sort of ginger snap meets snickerdoodle, molasses crinkle meets sugar cookie. And as mentioned before, they’re addictive. Very addictive. Give them a try and leave a comment with your description. But remember, you’ve been warned. So don’t blame me when you can’t stop eating them!
Brown Sugar Snaps
Cream:
2 cups white sugar
1 cup brown sugar, packed
4 sticks butter
2 teaspoons milk
2 teaspoons vanilla
Add: 2 eggs and beat again,
Add:
5 cups flour
3 teaspoons baking soda
3 teaspoons cream of tartar
1/2 teaspoon salt
Chill dough for at least one hour.
Preheat oven to 400 degrees. Roll dough into balls, dip in sugar, and place on a cookie sheet. Turn oven down to 375 degrees just before putting in cookies. Bake about 9 minutes. Cookies should have nice deep cracks. You will need to reheat the oven to 400 degrees between pans.
Save
by jphilo | Sep 3, 2010 | Recipes
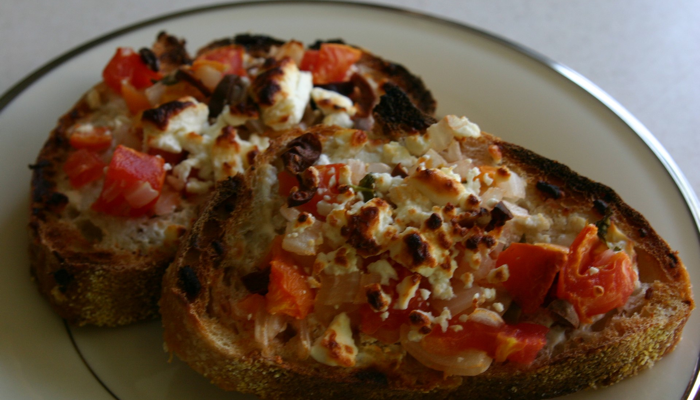
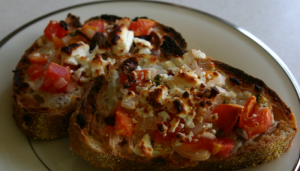
In the past few years, since we’ve been getting vegetables through a local CSA, bruschetta has become one of my favorite late summer meals. Many people think it’s only an appetizer, but accompanied by corn on the cob and a sweet melon, it serves as a main dish.
So here’s my recipe, adapted from one that appeared in American Profile Magazine a few years back.
1 (8 ounce) loaf French bread (Costco’s roasted garlic bread is wonderful)
1/4 cup softened cream cheese
1 – 2 tablespoons grated hard cheese (parmigiano or parmesan)
1 1 /4 cups chopped red tomato
1/4 cup thinly sliced onion
1/4 cup thinly sliced kalamata olives
1/4 cup chopped sweet peppers
1 tablespoon fresh, chopped basil
1/2 cup crumbled feta cheese
(These amounts are suggestions only. I keep chopping whatever’s available until there’s enough to cover all the bread. I often use a bigger loaf, too.)
Preheat broiler. Slice bread into 1/2 inch thick slices. Mix cream cheese and grated cheese. Spread a thin layer on each slice of bread. Place slices on a large cookie sheet or broiler pan.
Combine all vegetables and spices. Spoon onto bread slices. Sprinkle with feta cheese. Broil 3 to 4 minutes until bread is toasted and cheese is bubbly.
Man, oh man, this is making me hungry. I think we’re having bruschetta for supper tonight.
by jphilo | Aug 27, 2010 | Recipes
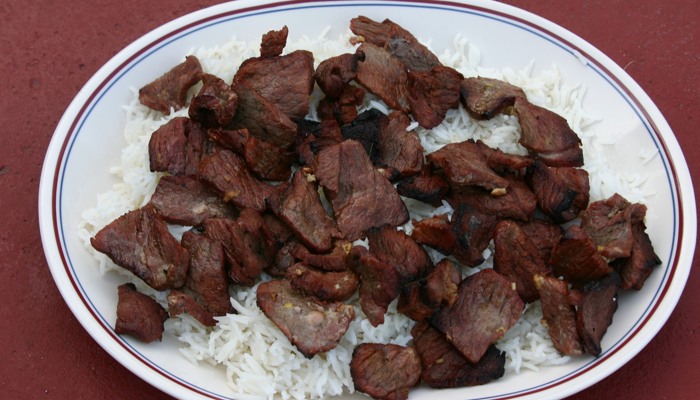
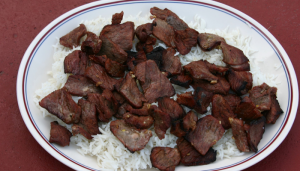
With all the rain we’ve had this summer, grilling had been a challenge this year. We managed a few sessions throughout the summer. I used this savory marinate on pork chops before Anne came home, and Hiram’s reaction was, “What did you do to these? It’s delicious.” Then when Anne arrived, I used it on thin sliced beef ribs. She looked up and asked, “What did you put on these? It’s delicious.” I used it again a couple nights ago, and again Hiram said, “This meat is so good.”
With reviews like that, how can I not share the recipe with you? The only change I made in the original recipe was to reduced the amount of oil.
Savory Marinade
Whisk together:
1 large clove garlic, crushed
1/4 cup oil
1/4 cup soy sauce
1 tablespoon Worcestershire sauce
1/4 cup red wine vinegar
1/8 cup lemon juice
1 tablespoon Dijon mustard (regular mustard works, too)
1/2 teaspoon salt
1/2 teaspoon pepper
1 tablespoon parsley
Marinate meat (chicken, pork, fish, beef, or ground meat) in mixture for 30 minutes to 24 hours in the refrigerator. Grill, bake or, broil and then serve.
The original recipe came from The Occasional Cook: Culinary Strategies for Overcommitted Families by Cyndy Salzmann. Unfortunately, the cookbook, which is full of great freezer meal plans and recipes, is out of print. But it is available for purchase at her website, America’s Clutter Coach.
by jphilo | Aug 18, 2010 | Recipes
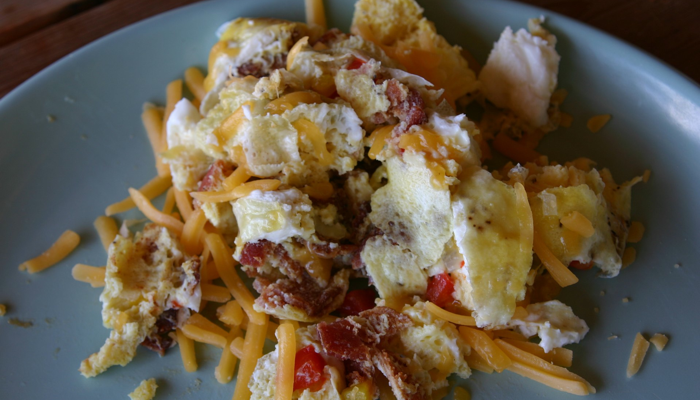
As the school year starts, one of the best things parents can give their kids is a good breakfast. Of course, that’s easier said than done with crazy schedules. But this recipe is so fun it might capture your kids’ interest and appetites, even on a busy school day. Or use it for a quick supper, breakfast after a sleep over.
I first encountered it at Family Camp this summer. It’s a great camp meal, too, and the cooks have these suggestions:
Use no more than two eggs per bag.
Use new Ziplock bags, not ones stored for a long time.
Squeeze all the air out of the bag while zipping it shut.
Since uncooked egg and melting cheese look similar, add cheese after cooking so it’s easier to know when the eggs are done.
If fixing these on a school morning, chop veggies, cook bacon, and shred cheese the night before.
Omelets in a Bag
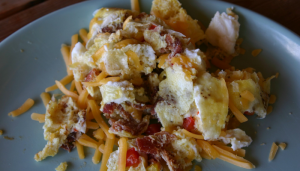
Fill a large saucepan with water and heat to boiling. While water is heating, put two eggs in a Ziplock sandwich bag. Seal bag and smush up eggs. Open bag and add desired vegetables (chopped onion, pepper, tomatoes, mushrooms) along with meat (bacon crumbles, cubed ham or cooked, ground sausage). Seal bag shut, being careful to squeeze out as much air as possible. Put bag into boiling water and cook about 5 minutes, until egg is no longer runny. Remove bag with a slotted spoon directly onto plate. Open the bag and dump contents onto plate. Sprinkle with cheese and enjoy.
by jphilo | Aug 12, 2010 | Recipes
I don’t often run the same recipe twice. But after I served fresh peach pie to the members of our writers’ group Tuesday night, they wanted to know how to make it. So, in honor of them (and because this is my favorite recipe) an exception must be made.
For those of you who want to try your hand at homemade crust, check out Grandma Conrad’s Never Fail Pie Crust. It’s the only recipe I’ve use for over 30 years. True to it’s name, it has never failed!
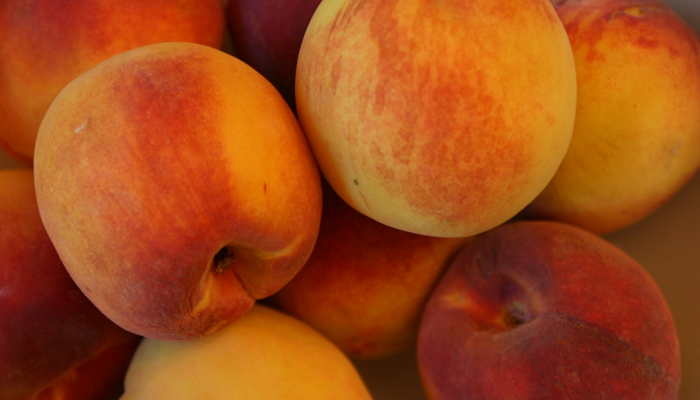
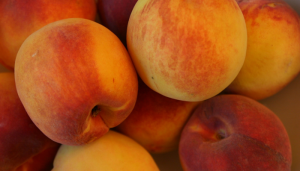
A word of warning. This pie will only be as good as the peaches you use. Here’s my best advice on choosing good peaches.
- Do not use California peaches if you live in the midwest. Who knows why – distance, picked too soon, whatever – but it’s hard to get good California peaches in this part of the world.
- In the midwest, the best peaches come from Missouri, Michigan, Colorado and Georgia, in that order.
- Smaller peaches are usually better than large ones.
- Choose peaches with a little blush and a lot of clear, yellow color.
- Let the peaches ripen in a bowl or paper bag until you smell them. Then they’re ready to use.
- Peach season runs from early July to mid-August. It’s hard to get good peaches outside those time parameters.
Now, without further ado, here’s the recipe. You’ll be surprised how easy it is!
Fresh Peach Pie
5 large or 7 small to medium peaches
1/2 cup sugar
1/2 cup water
3 tablespoons cornstarch
2 tablespoons butter
1/2 teaspoon almond extract
Slice three large peaches into a nine inch baked pie shell. In a sauce pan, crush two large peaches. Mix together 1/2 cup sugar and three tablespoons of cornstarch and add to crushed peaches along with 1/2 cup water. Cook and stir constantly until mixture boils, thickens and turns clear. Add 2 tablespoons butter and 1/2 teaspoon almond flavoring and stir. Pour hot mixture over sliced peaches in the pie shell.
by jphilo | Aug 4, 2010 | Recipes
Iowa weather has been a bit odd this summer. Not so far as the temperatures go. They’ve been pretty normal for July and early August, which means hot and uncomfortably humid. But the unusual amount of rain dumped on our state this late in the summer has ratcheted the humidity to new, almost unbearable levels.
Hiram doesn’t like the sticky weather. I don’t like the sticky weather. But our pot of basil loves it. Every morning, it looks inches taller. Like the hair on this middle-aged woman’s upper lip, each time I trim it, it grows back thicker and bushier.
With this bounty of basil, our blender is working overtime. I’ve lost count of how many batches of pesto I’ve made – and from the looks of things, there’s no end in sight. Thankfully, pesto freezes well. And with the two kids newly married and wrestling with food budgets, the excess will go to good homes.
If you’ve got basil coming out your ears, give my sister’s recipe a try. My favorite ways to serve it include:
- As a spread on grilled sandwiches
- In place of tomato sauce on pizza
- Tossed with pasta, pine nuts, sun dried tomatoes, and Greek olives
With pesto spilling out of the freezer, I’m looking for more ways to use the green goop so leave a comment and share your ideas, too!
Basil Pesto
2 cups packed basil leaves
3 cloves garlic
1/4 – 1/2 cup olive oil
pinch of salt
1/4 cup pine nuts or walnuts
1/4 cup parmesan cheese
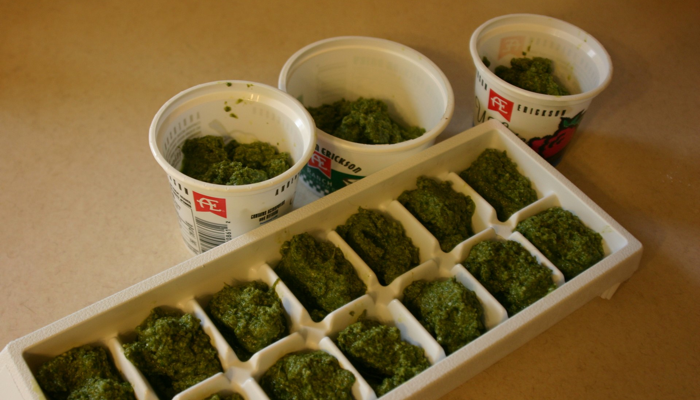
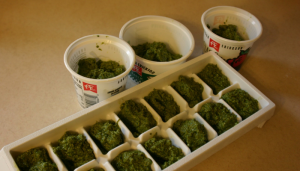
Pour oil in blender. Peel and slice garlic cloves into oil. Blend well. Add nuts and salt. Blend well. Add basil gradually, blending well between additions. When thoroughly blended, pour into a bowl. Add cheese and stir well. Use immediately or freeze in small plastic containers or ice cube trays. Once frozen pop out the pesto cubes and store a tray’s worth in a quart freezer bag.
Note: The picture above is a triple batch.