Caramel Apple Dip

Caramel Apple Dip

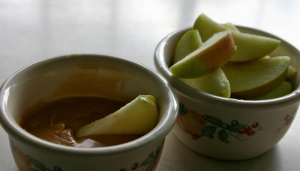
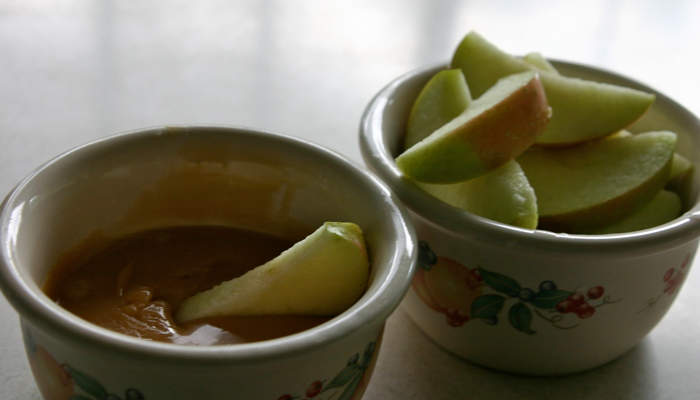
Every fall when the local grocery store starts selling the new crop of apples from a nearby orchard, I get a hankering for caramel apples. At least until I remember what a hassle they are to make and to eat, for that matter. But then I remember a recipe passed along way back when the kids were little by an old friend. This dip is easy to make – only three ingredients – and keeps in the refrigerator for weeks and weeks.

There are only two hard things about this recipe: trying to stop eating it and getting a decent picture of a dipped apple slice. So if you’re hankering for caramel apples, but want to avoid the mess and fuss, give this recipe a try.

One final warning: the dip is hard to remove from computer keys.
Don’t ask how I know.

Caramel Apple Dip

40 unwrapped caramels (about 1 regular-sized bag)
1 can sweetened, condensed milk
1/4 cup margarine or butter

Place all ingredients in a microwavable bowl. Cook for 2 minutes, then turn and cook for 2 more minutes. Remove from microwave. Stir with a sturdy spoon until caramels melt and mixture becomes smooth. If caramels don’t all melt, put in microwave for 30 seconds more and stir again. Spoon dip into small bowls and serve with apple slices.

The dip can be refrigerated, reheated, and served several times. Watch carefully when reheating. Remove mixture and stir as soon as it starts to bubble.
Abbey’s Granola

Abbey’s Granola

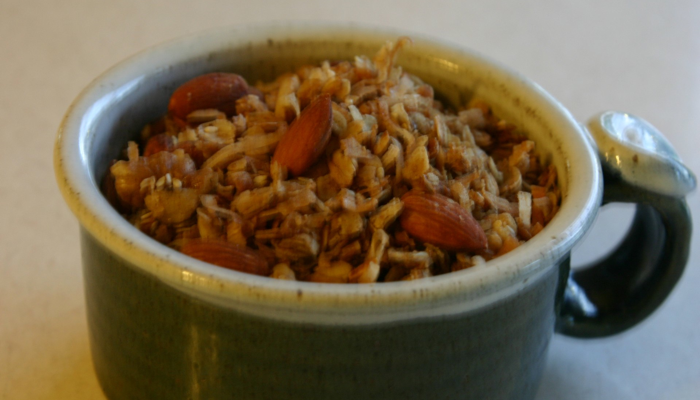
Though it’s been a crazy week, no way could it end without a recipe. This one comes from my daughter-in-law, Abbey. She had granola baking in the oven during my last visit. It smelled mouthwateringly divine, and tasted better than it smelled.

I was home several days before remembering to email her for the recipe. When she sent it, we were gone again. So yesterday was my first opportunity to try it out. I had just thrown all the dry ingredients when we got the call about Abby the dog (not to be confused with Abbey, the daughter-in-law). When we arrived home several hours later, I added the rest of the ingredients and popped it in the oven.

Hiram and I taste tested the granola, fresh out of the oven. Scrumptious and the perfect comfort food after bidding Abby the dog farewell. Here’s the recipe, which Abbey says she adapted from Jamie Oliver’s cookbook, making it less sweet than the original. Give it a try and let me know what you think.

Abbey’s Granola

4 cups old-fashioned oats
2 cups any variety of unroasted, unsalted nuts
1/2 cup unroasted, unsalted mixed seeds (sunflower, pumpkin, sesame, etc.)
1 1/2 cup shredded coconut
2 teaspoons cinnamon
5 tablespoons maple syrup
5 tablespoons honey
10 tablespoons olive oil
1/4-1/2 t salt

Preheat oven to  350 degrees. Spread mixture in 2 cake pans. Bake for 30 – 45 minutes, stirring every 10-15 minutes. Take it out of oven and place on wire rack. Stir every 15 minutes until completely cooled. Store in airtight container.

Abbey says the trick is to take it out of the oven when it is pretty brown and toasted but before it burns. Jolene says in her oven that was closer to 30 minutes than 45, so watch carefully.

Wild Grape Jelly/Syrup

Wild Grape Jelly/Syrup

The wild grape vine at the end of our lane was loaded with fruit the week before Labor Day. Finally, I decided to pick them and make jelly. Never mind that I did not inherit the skills of my sister and other relatives which leads to the sugar, fruit, and pectin mixture actually turning from thin liquid into jelly.

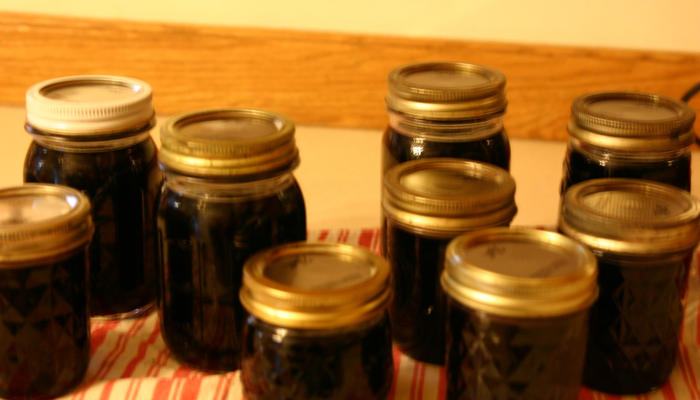
Still, I was determined to harvest that fruit and fend off starvation this winter. So I found a recipe on the internet, picked the grapes, and followed the directions to a tee – even purchasing liquid pectin per the recipe instead of the powdered pectin everybody else in the family uses. I took pictures of every step of the process, knowing all of you would want to see exactly how to make your own jelly. I even took little notes to share with readers about how many cups of grapes equal a pound and other good stuff. In the end, I had 4 pints and 5 jelly jars of deep purple, sweet as sugar goodness.

And guess what happened?

That’s right. All that beautiful jelly didn’t jell. BUT, Hiram assures me it is the dandiest wild grape syrup ever. However, before he made the pronouncement, I washed my hands of the jelly syrup experience and threw away all the little notes I was going to share.

I’m still in a bit of a purple funk about the whole experience. So instead of rewriting the recipe, you can check it out at this link. Just cross out the word jelly and replace it with syrup, follow the recipe, and you’ll be set for pancakes all winter. Or, use powdered pectin in place of the liquid stuff and see what happens. If you get jelly instead of syrup, please let me know. If it works for you, maybe I’ll give it another try next year. Or maybe you can just send me a couple jars of yours. Based on past experience, that’s the only way homemade jelly will ever grace the pantry shelves at this house.

The Family Birthday Cake – Recycled

The Family Birthday Cake – Recycled

This past weekend, we hosted the Labor Day Family Reunion at our house. Because Mom’s birthday is September 3, we always celebrate her big day with the traditional family birthday cake, German Chocolate. In honor of that event (and because today I’m busy with the annual poking, prodding, and boob squishing also known as a yearly physical and mammogram), today’s recycled post features the birthday cake recipe. This is, by the way, the recipe, originally posted in September of 2008, was the first recipe entry on this blog.

BTW, we also celebrated my cousin’s son’s birthday over the weekend with the yummiest carrot cake ever. Stay tuned for it’s posting in a week or two!

German Chocolate Cake

Whew, I meant to get to this entry last Friday, but the day got away from me as I packed and baked for our annual Labor Day Reunion. The reunion participants include my mom, her kids and their families, along with Mom’s sister and her husband, their kids and their families – usually somewhere between twenty and thirty people each year. The two older generations visit, play games and eat while the younger generation films their annual version of S.O. Weird Cousins TV. More on that production in another post.

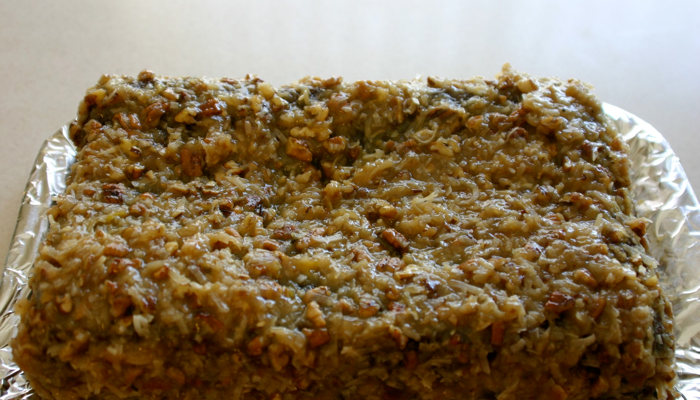
We celebrate Mom’s birthday during the weekend as she was born on September 3, which was Labor Day the year she made her appearance. The birthday cake is always homemade German chocolate cake, which is only made at our house when requested by the birthday boy or girl. It makes a moist, rich, dense cake able to feed the masses when covered with coconut-pecan frosting.
The cake recipe is inside each box of Baker’s German sweet chocolate, along with one for the frosting. But years ago, Mom copied an easier, just as tasty recipe from a magazine.  I’ve never seen it anywhere else, so here it is – in honor of Mom’s 80th birthday this coming Wednesday.

Easy Coconut-Pecan Filling and Frosting

3/4 cup evaporated milk                                    1/2 cup firmly packed brown sugar
1/2 cup granulated sugar                                  1/2 cup butter or margarine
1 teaspoon vanilla                                               3 egg yolks, slightly beaten
1 1/3 cups shredded coconut                            1 cup chopped pecans

Combine milk, sugars, butter and vanilla in a sauce pan. Bring to a full boil, stirring constantly. Remove from heat. (Mixture may appear curdled.) Quickly stir a small amount of hot mixture into the egg yolks; then pour that mixture back into sauce pan. Return to a boil, stirring constantly. Remove from heat. Add coconut and pecans. Cool to spreading consistency, stirring occasionally.

*Cookbooks tell you to frost between the layers and on the top of a German chocolate cake, but not on its sides. Mom always frosted the sides (it’s a little tricky) to keep the cake moist.

Eggplant Pomadora Pasta…with a New Twist

Eggplant Pomadora Pasta…with a New Twist

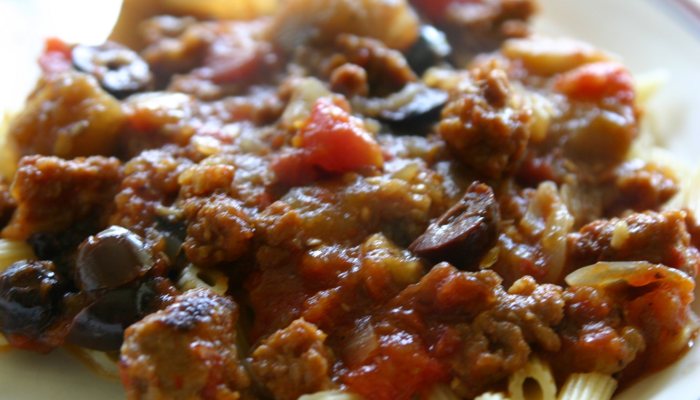
The end of August means we are flooded with eggplant and tomatoes, barely able to tread water as they pile up. So a few nights ago, I decided to reprise the Eggplant Pomadora Pasta recipe that received our double thumbs up earlier this month.

But I added a little twist, inspired by a comment Hiram made when I served Chicken Stew with Ratatouille Veggies. “This would be good with sausage,” Hiram said. “Hmm,” I thought, “maybe it would be good in Eggplant Pomadora Pasta, too.”

Turned out it was good. Really good. Really, really good. So I’m reprising the recipe for you, complete with the few alterations that turned this from a good meal to a winner-every-time meal. See what you think, and if you have a variation your family loves, please leave a comment. Food’s more interesting when it includes a new twist now and then.

Eggplant Pomadora Pasta with Sausage

2 tablespoons extra-virgin olive oil
1 medium eggplant, (about 1 pound), cut into 1/2-inch cubes
2 cloves garlic, minced
1/2 cup onions, chopped
5 tomatoes, peeled and diced
1/3 cup chopped pitted kalamata olives
2 tablespoons red-wine vinegar
3/4 teaspoon salt
1/2 teaspoon freshly ground pepper
1/4 teaspoon crushed red pepper
1 pound Italian sausage, cooked and crumbled
12 ounces pasta

Heat oil in a large nonstick skillet over medium heat. Add eggplant and cook, stirring occasionally, until just softened, about 5 minutes. Add garlic and onions. Cook, stirring, until fragrant, 30 seconds to 1 minute. Add tomatoes, olives, vinegar, salt, pepper, crushed red pepper, and sausage. Bring to boiling, then turn down and simmer for 1 – 2 hours.

20 minutes before serving, bring pot of water to boil. Cook pasta in boiling water until just tender, about 6 minutes or according to package directions, then drain. Serve pasta and sauce piping hot.

Turkey Wraps

Turkey Wraps

Man, oh man. Our trip to Ohio and Michigan has me waaaay behind in the recipe department. I’ve been pretty busy, trying to remember what was going on before we left and how to function now that book deadlines aren’t ruling my life. So busy, I haven’t cooked up anything new for a good long time. So, this week’s offering once again comes from the Family Camp cookbook.

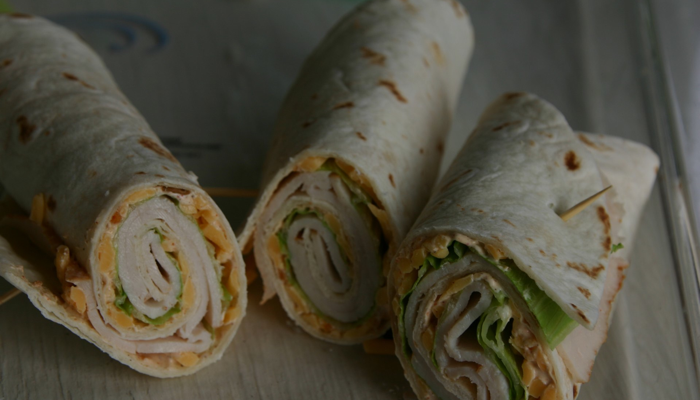
These turkey wraps offer a tasty twist for lunch. They’re easy to make and can be stored for a few days in the fridge. However, if you plan to send them in zipper plastic bags for lunch, don’t use toothpicks to hold them together. Our lunch bag recipe testers (aka: the mountain climbers at family camp) said the toothpicks poked through the plastic, which made the wraps hard to remove from their bags. Live and learn!

Turkey Wraps

12 flour tortillas
1 1/2 – 2 pounds thinly sliced turkey
shredded or leaf lettuce
1 can black beans, drained
1/2 pound shredded cheese
1/2 pound sour cream
2 tablespoons mayo
1 tablespoon plus 1 teaspoon taco seasoning
1 tablespoon ranch dressing mix
salsa (optional)

Mix sour cream, mayo, taco seasoning, and ranch dressing mix together in a bowl. Spread 1 heaping tablespoon of mixture on each tortilla. Sprinkle with cheese, beans, and shredded lettuce. (Or peel lettuce leaves off the head and place it on the tortilla over cheese and beans.) Top with slices of turkey. Roll up and secure with toothpicks. Slice in half diagonally. Serve with salsa if you like.