by jphilo | May 30, 2012 | Recipes
Today’s recipe comes compliments of my daughter, Anne who showed me how to make these chocolate bars a few weeks ago. She found the recipe at Chocolate Covered Katie, a very fun website that features healthy desserts. Katy’s name for this recipe is Three Ingredient Chocolate Bars since she’s into easy, while my title highlights the non-dairy thing. Whatever the emphasis, these chocolate bars are delicious and can easily be adapted by adding nuts, flavorings, dried fruit, breaking up to use as chocolate chips or melting for use as chocolate sauce.
Non-Dairy Chocolate Bars
- 1/2 cup plus 1 tablespoon cocoa powder
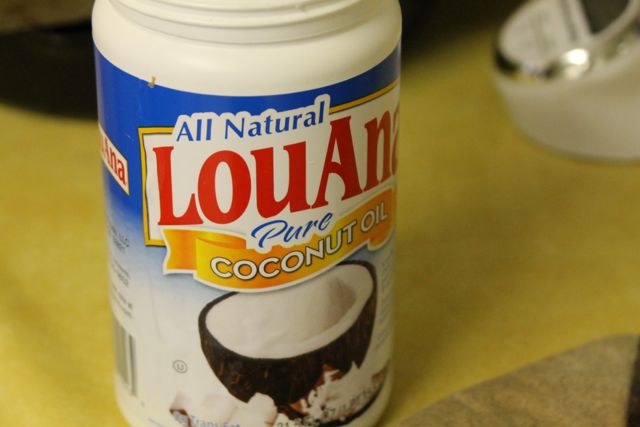
- 4 tablespoons unrefined coconut oil
- 1/4 cup agave or use NuNatural vanilla stevia drops (Katie uses 10 drops. Anne used stevia powder dissolved in 1/4 cup water. I used agave as the stevia chocolate was to bitter for my taste. The agave chocolate is chewier, while the stevia verison is more snapable. Anne said she recently used honey and that was good, too.)
- optional: extracts, cocoa nibs, nuts, dried fruit, coconut, chow mein noodles, crispy cereal, oatmeal
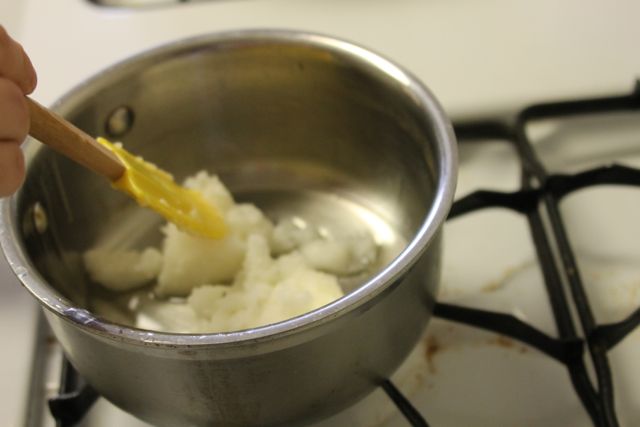
Place coconut oil…
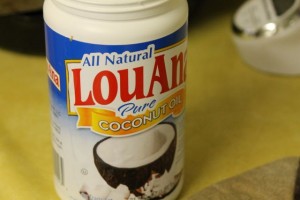
…in a saucepan and melt over low heat.
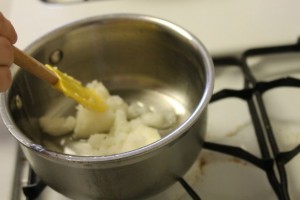
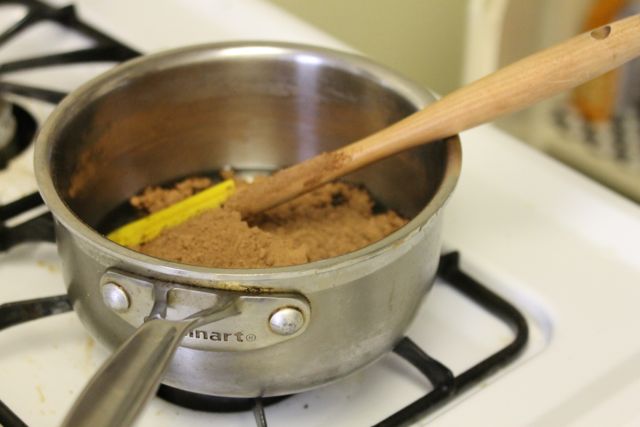
Add agave or stevia. Stir, then add cocoa powder (and add 3-4 T water or nondairy milk if using stevia.).
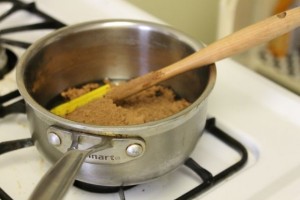
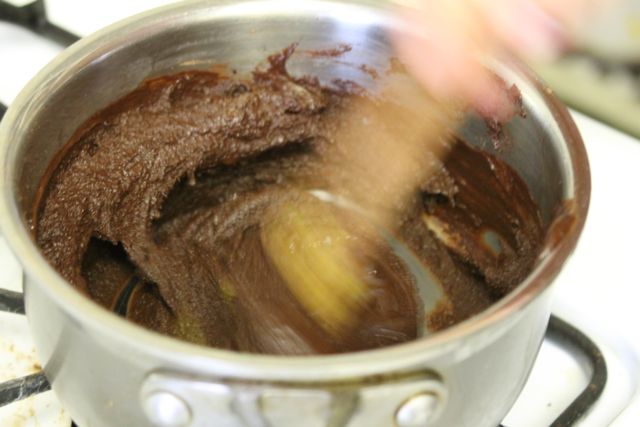
Stir stir stir!
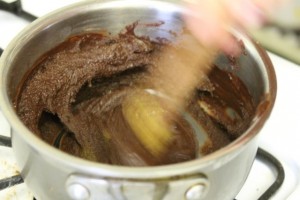
Stir until it gets thick. (Caution: I took Katie’s command to stir, stir, stir to heart. Apparently too much to heart as some of the oil separated from the rest of the mixture. So stop stirring as soon as it thickens. It doesn’t take long.)
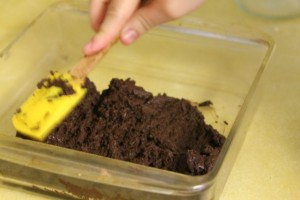
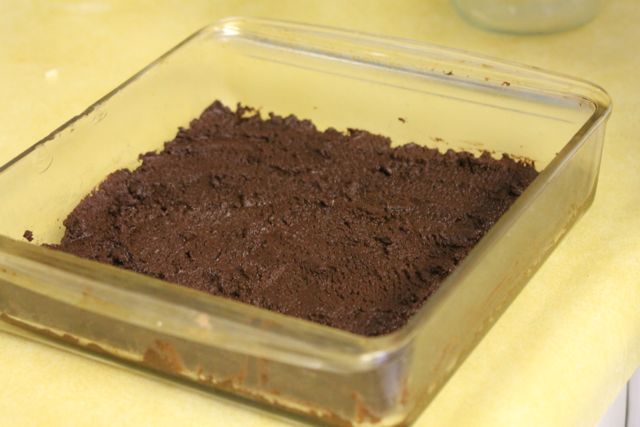
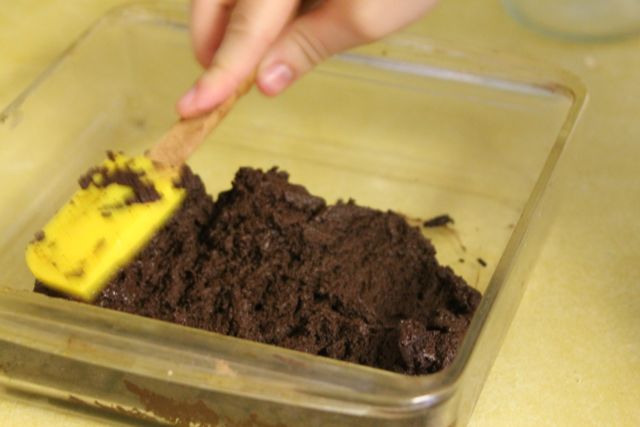
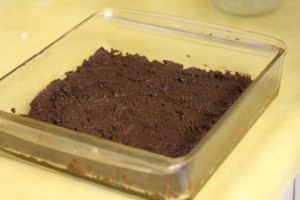
Pour into any flat container (or candy molds or smush between layers of wax paper or in ziploc bags).
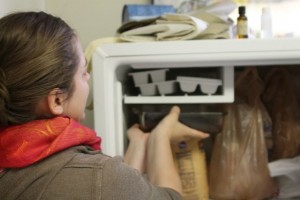
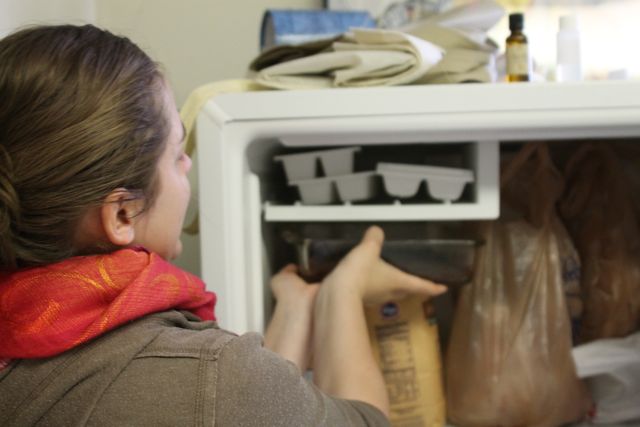
Fridge or freeze until solid. Cut into bars, break into chips, melt back into chocolate sauce. The sky’s the limit with this recipe. So give it a try and leave a comment about how you adapt and use it.

by jphilo | May 23, 2012 | Recipes
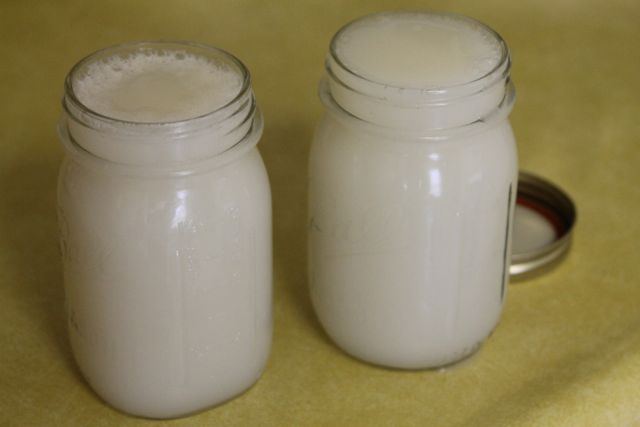
This dairy allergy thing is changing my life in a whole bunch of ways. Last month it made ordering from the Cheesecake Factory’s menu an adventure when I went out to supper with friends after the Accessibility Summit. It led to interesting dinner conversation that evening when someone asked, “How do you milk almonds?” followed by “How do you milk rice?” As the above photo proves, we mastered rice milking technique and caught it on camera.
During a recent visit to our daughter and new son’s house, she demonstrated the finer points of making rice milk – for those who haven’t mastered modern milking techniques – so this dairy allergy is changing the way I cook. Today’s recipe and pictures make it possible for you to milk rice, too!
Rice Milk
1/4 cup brown rice
1 quart water
(or 1 cup brown rice and 1 gallon water if you want lots of rice milk)
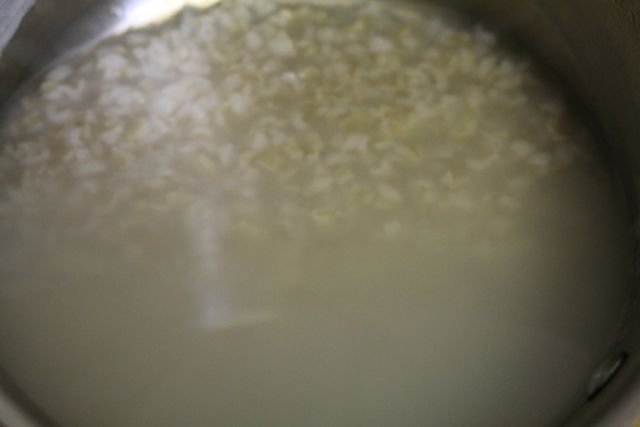
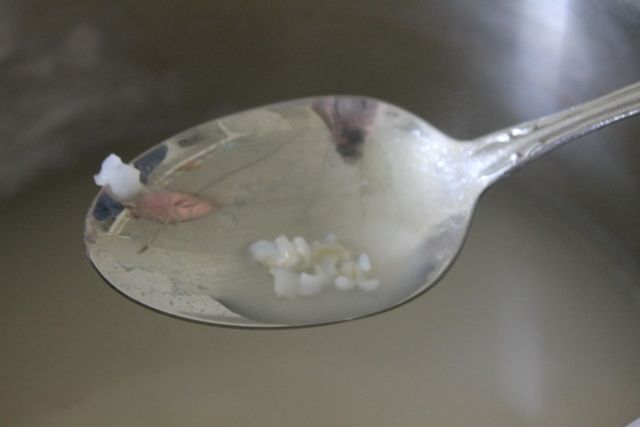
Combine rice and water in a saucepan. Bring to a boil, then turn down and simmer for a long, long time (several hours), adding water to replace what boils off, until rice is mushy like this:
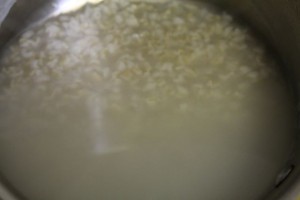
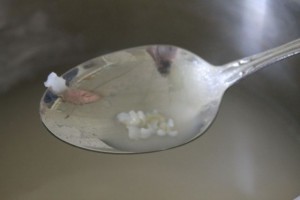
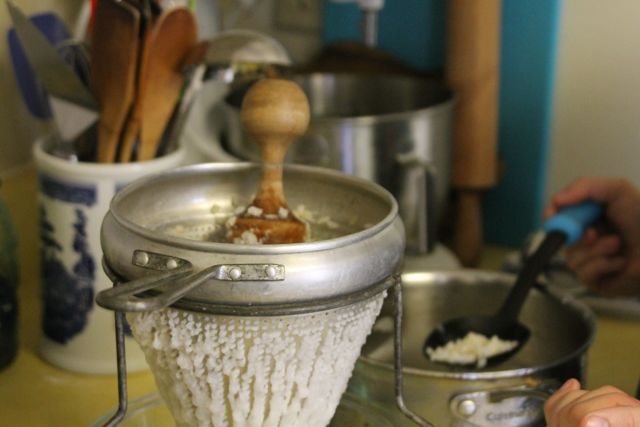
Allow mixture to cool for 15 – 30 minutes. Spoon rice into a colander and process:
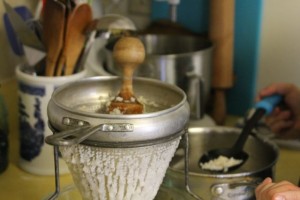
In necessary add water, running it through a colander until you have almost a quart of milk. (If you place a large measuring cup under the colander to catch the draining liquid, this step is much easier.)
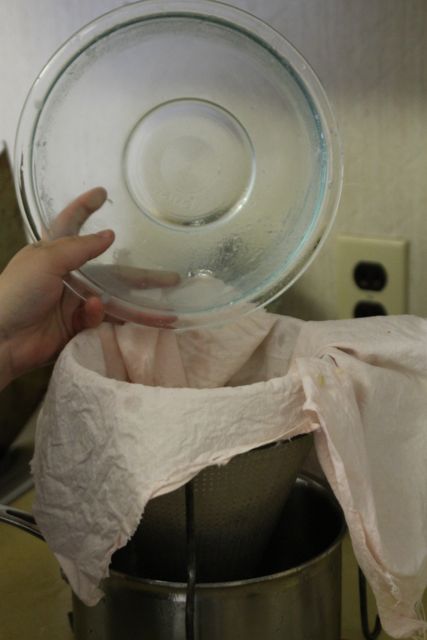
Next, strain the liquid through unbleached muslin or cheesecloth:
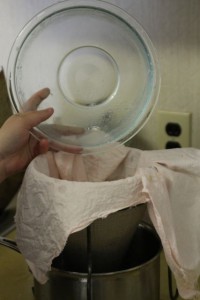
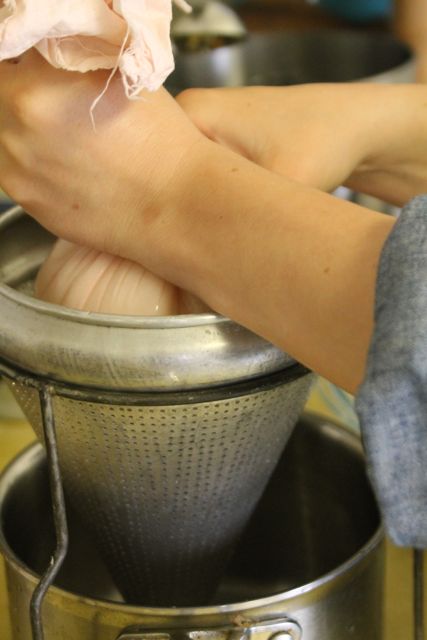
Wash your hands and squeeze as much goop out as possible:
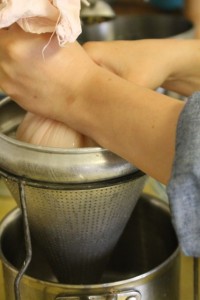
(This step is much easier if you use cheesecloth rather than muslin.)
If necessary, add enough water to make a quart.
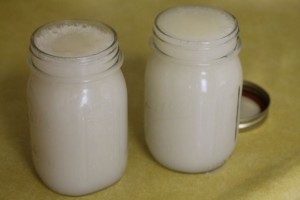
Use rice milk as a substitute for milk when cooking. To replace buttermilk, add a tablespoon of vinegar per cup and let it sit for 20 minutes.
Rice milk is a good substitute for milk, though it doesn’t taste quite like good old cow’s milk. Anybody out there have other suggestions for milk replacement in cooking? Leave a comment!
by jphilo | May 16, 2012 | Recipes
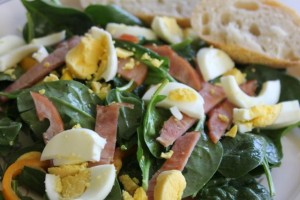
When I read the name of recipe in USA Weekend Magazine the weekend before Mother’s Day, my reaction was…breakfast salad? Are you kidding me? But a quick skim of the ingredients showed the recipe met the requirements for our healthy eating checklist:
Non-dairy for me √
No sugar for Hiram √
Lots of veggies for both of us √
High protein for high exercise days √
Easy to make √
Easy to substitute ingredients √
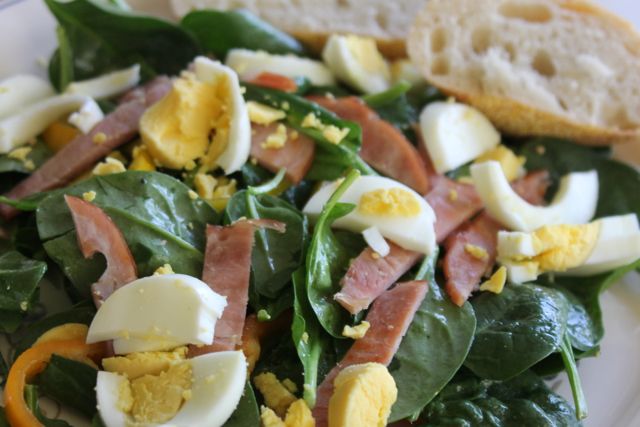
So last night, we tried the recipe – turning it into supper salad by serving it with baguette on the side – and it immediately received the coveted Hiram seal of approval. Not a wow-this-is-good seal of approval. But a wow-how-soon-will-you-serve-this-again seal of approval. Yup, it was that good. Don’t take my word for it, though. Try it and leave a comment about your family’s reaction to breakfast salad…any time of day.
Breakfast Salad
8 slices Canadian bacon (original recipe called for 4, but no way would Hiram go for that)
3 tablespoons extra-virgin olive oil
2 tablespoons lemon juice (original recipe called for balsamic vinegar)
1/2 teaspoon Dijon mustard
salt and pepper to taste
8 cups lightly packed, washed baby spinach leaves (about 8 ounces)
1/2 cup sweet red, orange, or yellow pepper thinly sliced (original recipe calls for 2 cups cherry tomatoes, cut in half)
4 hard-boiled eggs, peeled and chopped
Cook Canadian bacon in lightly oiled skillet over medium heat until golden brown, about 5 minutes, turning once. Remove from skillet and cut into 1/2″ strips. Set aside.
In a small bowl, whisk together oil, lemon juice, mustard, salt, and pepper. Place spinach leaves and sweet peppers into a large serving bowl. Add dressing and toss to coat evenly. Spoon spinach/sweet pepper mix evenly onto four dinner plates. Top each serving with 1/4 of egg and Canadian bacon. Serve immediately.

by jphilo | May 9, 2012 | Recipes
How does a person live to the age of fifty-five and not know she has a dairy allergy? If I knew the answer to that question, my allergy would have been diagnosed long ago. Instead, the was confirmed by “a moderately positive response” to a blood test at the Allergy Clinic of La Crosse. The doctor recommended eliminating dairy from my diet for a month to see if doing so would clear up my sinus issues.
Two days into the diet, my sinuses felt way better as did various parts of my digestive tract. (That’s all I’m going to say about that.) Feeling better was the easy part. The hard part is finding tasty and effective ways to avoid milk products in our dairy lovin’ society. One of my most successful attempts so far has been the non-dairy strawberry-banana smoothie pictured above. Not only is it pretty, but it also tastes as good as it looks! Here’s the recipe.
Non-Dairy Strawberry-Banana Fruit Smoothie
3/4 cup coconut milk*
8 large ice cubes
1 cup hulled, washed strawberries
1 banana, cut in chunks
1/2 teaspoon vanilla
1 tablespoon honey
Process coconut milk and ice cubes in blender for thirty seconds to a minute. Add strawberries and blend until they are liquified. Blend in banana and vanilla until mixture is smooth and no chunks remain. Add honey and blend for about 15 seconds. Pour into glass and enjoy!
*Almond milk can also be used, but the coconut milk adds a delicious hint of tropical flavor.
by jphilo | May 2, 2012 | Recipes
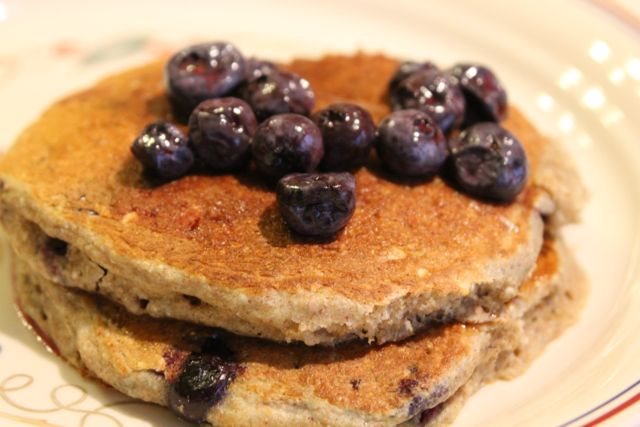
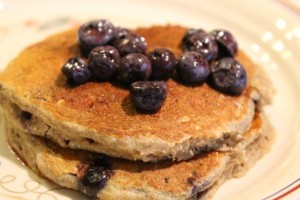
My husband quit eating sugary foods a couple months ago for health reasons. His decision meant I needed to come up with a new method of preparing and serving pancakes, another one of our favorite breakfast-for-supper meals. Therefore, I was delighted when a recipe for blueberry buckwheat pancakes was published in the February 3 – 5 edition of USA Weekend Magazine. When I served them, we were both delighted to discover they were delicious and satisfying. You’ll be delighted to know the recipe received the coveted Hiram Seal of Approval. Rock on!
Blueberry Buckwheat Pancakes
3/4 cup buckwheat flour (I ground buckwheat groats in my coffee grinder)
3/4 cup whole grain pastry flour or whole wheat flour
1 1/2 teaspoons baking powder
1/2 teaspoon baking soda
1/4 teaspoon salt
1 cup low-fat buttermilk
3/4 cup non-fat milk (I left this out as I prefer a thick batter)
1 tablespoon honey
2 large eggs
2 tablespoons vegetable, corn, or canola oil
3 cups fresh or (thawed) frozen blueberries (I used 1 1/2 cups frozen berries, thawed)
In large bowl, mix the flours, baking powder, baking soda and salt. In a medium bowl beat together the buttermilk, milk, honey, eggs, and oil. Stir the wet ingredients into the dry ingredients, mixing only enough to combine into a lumpy batter. Fold in one cup of the blueberries.
Use a 1/4 cup measure to ladle batter onto a hot, non-stick griddle or seasoned electric skillet. Flip the pancakes when the top is riddled with bubbles and the bottoms are golden brown (2-3 minutes). Serve with remaining blueberries (our frozen blueberries created a good deal of juice, so we used it too) and maple syrup.
Between the blueberries and their juice, the pancakes were naturally sweet. I used only a tablespoon of maple syrup on my stack and Hiram used none at all. If you give the recipe a try, leave a comment about how it worked for your family.
by jphilo | Apr 25, 2012 | Recipes
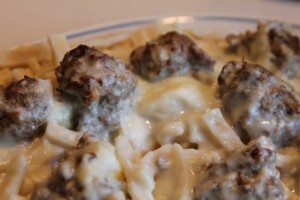
This recipe for Balkan Meatballs has been a favorite with our family since Mom gave me Mimi Wilson and Mary Beth Lagerborg’s Once-A-Month Cooking cookbook in the early 90s. These meatballs are the ultimate comfort food and make a complete meal when paired with green salad.
Balkan Meatballs
1 egg
1/4 cup milk
1/3 cup seasoned bread crumbs
3/4 teaspoon salt
3/4 teaspoon sugar
1/4 teaspoon ginger
1/4 teaspoon nutmeg
1/4 teaspoon allspice
1 pound lean ground beef
1/2 pound ground turkey
2/3 cup finely chopped onion
1 – 12 ounce package of frozen Reames Noodles
2 tablespoons butter
1/4 cup flour
2 cups milk
In a medium-sized mixing bowl, beat egg with milk. Mix in dry bread crumb, salt, sugar, and spices. Add beef, turkey and onion. Mix thoroughly. Shape mixture into balls the size of walnuts and place on broiler pan. Broil until lightly browned. Cool.
Cook noodles according to package directions. At the same time, melt butter in large skillet. Add flour, stirring constantly until mixture is smooth and bubbly. Gradually stir in milk, stirring constantly. Heat to boiling and stir one minute until mixture is thick and smooth. Add meatballs; reduce heat. Cover and simmer 15 minutes. Serve meatballs over the noodles.
Note: I usually make a double batch of meatballs and use 1/3 for supper, then divide the remaining meatballs into two quart freezer bag and put in freezer to use later.