by jphilo | Mar 2, 2016 | Recipes
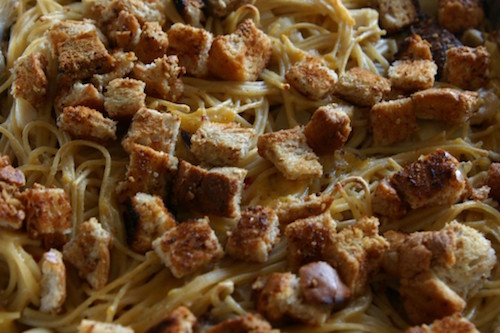
For supper last week, I made chicken tetrazinni, a family favorite that can also be made with turkey, for the first time in a long time. After his first bite, the Man of Steel decided he wanted it made again for his birthday meal extravaganza to be held in a few weeks. Because the dish can 1) be prepared ahead of time, and 2) be made in dairy and non-dairy versions (at least 3 of those attending steer clear of dairy), I was thrilled. In honor of the upcoming celebratory event, here’s the recipe for chicken tetrazinni, with notes about how to make the non-dairy version, too.
Chicken Tetrazzini
2 – 3 cups cooked, deboned, cubed chicken
1 cup shredded cheddar cheese (omit this ingredient in the dairy-free version)
1 1/2 cups chicken broth
3 tablespoons butter (dairy-free version uses Earth Balance Vegan Buttery Sticks)
1/4 cup flour
1/2 cup onion, chopped
1/4 cup green or sweet red pepper, chopped
12 ounces spaghetti
6 slices of bread, toasted and cubed
1/4 cup melted butter (dairy-free version uses Earth Balance Vegan Buttery Sticks)
Heat oven to 350 degrees. Put cubed chicken and cheese (omit for dairy-free version) in a greased 9 x 13 pan. Cook spaghetti according to package directions and drain. Rinse with cold water and place in pan with turkey and cheese. Stir well.
While spaghetti is cooking, melt 3 tablespoons of butter or Earth Balance in a sauce pan. Add onions and pepper. Saute until onions are transparent. Add flour and mix well. Slowly add broth, whisking and stirring constantly until it boils. Let it boil gently for one minute. Pour sauce over noodle/meat/cheese mixture and stir well.
Toast the bread and cut into cubes. Drizzle with 1/4 cup melted butter or Earth Balance and stir well. Sprinkle croutons over the noodle mixture. Bake for 1/2 hour.
by jphilo | Feb 24, 2016 | Recipes
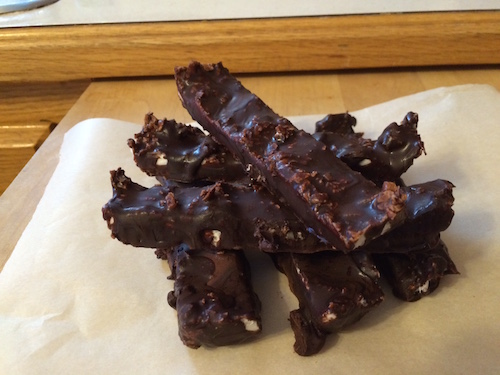
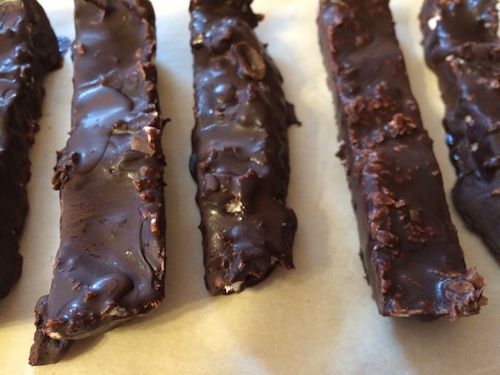
Satisfying chocolate cravings is often a challenge for people with dairy allergies. So I was really excited to find a recipe for low-carb coconut chocolate bars that are dairy-free at The Nourished Caveman website. I didn’t alter the recipe at all for my first try, though I did discover some tricks to make the process easier which are included in the instructions below.
My daughter, son-in-law, and I were the taste testers as the Man of Steel does not like coconut. The three of us devoured them while the Man of Steel wrinkled his nose. We coconut lovers decided that when I make them again, I should substitute cocoa butter for coconut oil so the coating holds up better. I’m also going to add some chopped almonds to the mix and use a little sugar instead of only stevia.
Dairy-Free Coconut Chocolate Bars
ingredients
1 cup unsweetened, shredded coconut
1 packet or 1 teaspoon stevia
1 teaspoon vanilla extract
1/3 cup coconut cream
4 tablespoons coconut oil or 2 ounces cocoa butter
2 tablespoons unsweetened cocoa powder
Instructions
Mix shredded coconut with coconut cream,1/2 of the vanilla extract and 1/2 packet or 1/2 teaspoon of stevia. Blend well with a spatula or a spoon.
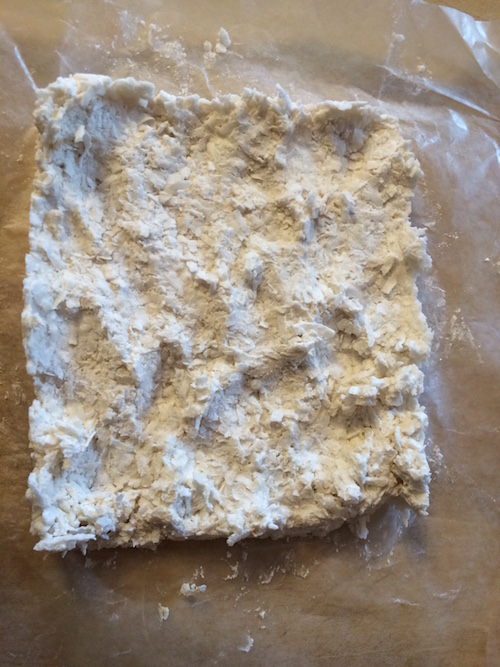
Place the shredded coconut mixture on a small cookie sheet lined with parchment paper. (I used a bread loaf pan.) Shape it into a flat rectangle about 4 inches by 6 inches and 1 inch thick.
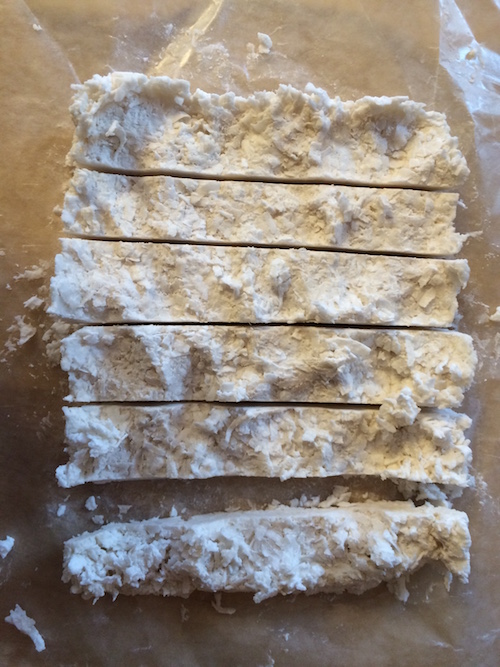
 Place in the freezer for 2 hours, until frozen solid. Remove from the freezer and cut into 5-6 bars.
 While coconut is in the freezer, prepare the chocolate coating:
Melt coconut oil or cocoa butter in a small sauce pan. Add cocoa powder remaining stevia and vanilla extract to the coconut oil or cocoa butter. Mix well on low heat for about 2 minutes, until all ingredients are well blended.
Let cool to room temperature, but still liquid. (I put the pan in the fridge for about 10 minutes to speed the process.)
Now dip the bars in the cocoa mixture, and turn to all sides to coat evenly. It helps if the bars are frozen solid so they won’t break. (The frozen bars may cause the chocolate coating in the pan to solidify. If that happens, put the pan on a low burner for about a minute until the coating melts again.) Place bars back on the parchment paper.
 When all bars are all coated put in the refrigerator to harden. The bars can be kept in the fridge for harder consistency or at room temperature for softer bars.
by jphilo | Feb 17, 2016 | Recipes
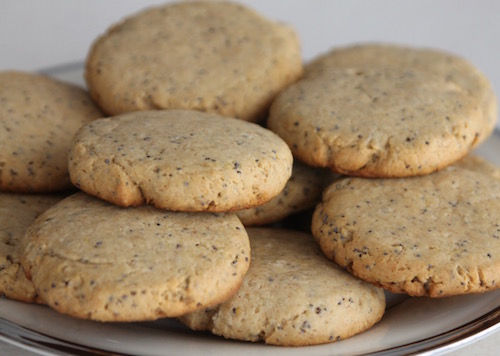
A good while back, maybe even a year ago, a recipe for vegan lemon poppy seed cookies caught my eye. Not because of the vegan part. Because lemon and poppy seed are two ingredients I love. I got to thinking about that recipe on a recent, cold winter day that practically screamed for my kitchen to produce something warm, yummy, and fragrant in defiance of the weather.
The original recipe can be found at the Craftsy website. If you want the vegan version, you’ll want to check it out. While this version is dairy-free, it includes animal and gluten products. The cookies were quite tasty, but a little tough. Next time I make them (maybe later today), I’ll increase the amount of baking powder and use a lighter touch while mixing them. This is a recipe worth perfecting.
Lemon Poppy Seed Cookies
Ingredients:
- 1/4 cup natural plain almond butter (stir well if oily and separated)
- 3 tablespoons softened unrefined coconut oil
- 3 1/2 tablespoons honey
- 1 egg
- 1 teaspoon pure vanilla extract
- 1 tablespoons + 1 teaspoon lemon zest, loosely packed
- 1 1/3 cups unbleached flour
- 1 tablespoon poppy seeds
- 1/2 teaspoon baking powder
- 1/8 teaspoon salt
- sugar for dusting
- Preheat oven to 350° F.
- Crack egg into medium mixing bowl and lightly beat the egg.
- Whisk in the almond butter, coconut oil, agave, vanilla, and lemon zest until fully combined and smooth. Use a spoon if it gets too thick.
- Add the flour, poppy seeds, baking powder and salt on top of the wet ingredients.
- Stir well until a large ball of dough starts to form.
- Knead a few time until it holds together
- Roll the dough into about 1-inch balls and place with 2 inches of space in between each on a large baking sheet.
- Tear a small square of parchment or wax paper and place on top of one dough ball. Gently flatten to 1/4-inch thickness with a flat-bottomed glass or bowl.
- Bake for 8-12 minutes. The bottom edges should be golden brown. Remove and allow to cool.
- Once fully cooled, store in a sealed container for 4-5 days.

by jphilo | Jan 27, 2016 | Recipes
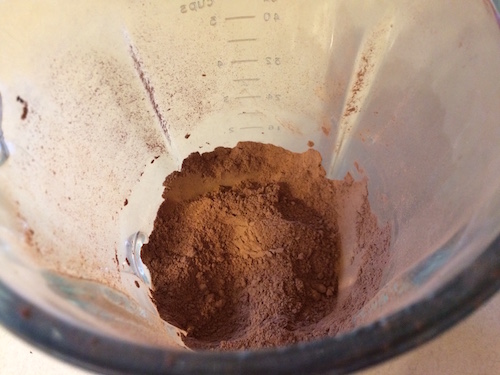
What’s better on a cold winter day than snuggling in a chair with a cup of hot chocolate while watching the snow fall? This version of an instant hot chocolate mix from the Live Simply website is dairy-free and delicious. It’s also very easy to make and keeps well.
Non-Dairy Hot Chocolate Mix
1/3 cup brown sugar
1/2 cup Kirkland chocolate chips
1/2 cup unsweetened cocoa powder
1 vanilla bean, scraped
Put the brown sugar, chocolate chips, cocoa powder, and vanilla scrapings in a food processor or blender. Pulse until the chocolate chips have been ground into a fine powder.
 Pour into a glass jar (place the vanilla bean husk in the jar first), cover, and store in the refrigerator.
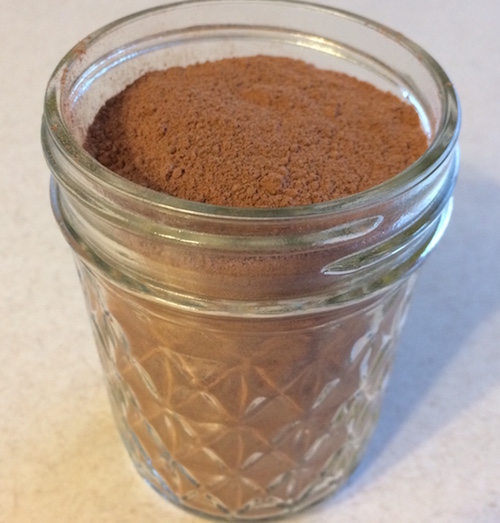 To use, warm 1 cup of milk or nut milk.* Add 3 tablespoons** of hot chocolate mix to the warm milk and stir.
* I prefer half nut milk and half strong coffee so it’s not quite so rich.
**3 tablespoons makes a very thick drink. Start with less and add more to taste.
by jphilo | Dec 30, 2015 | Recipes
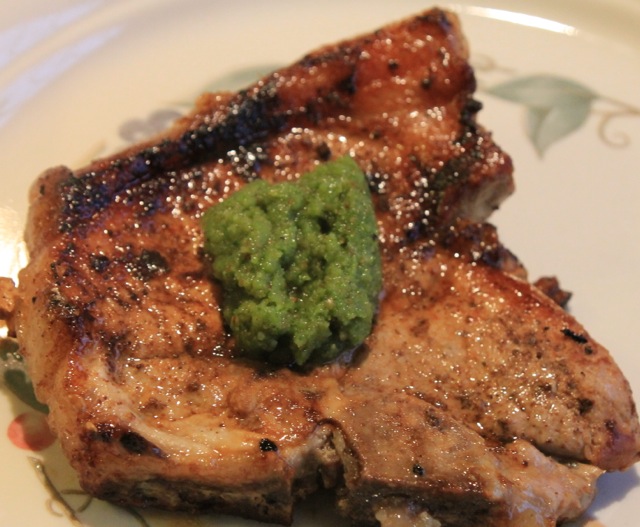
Today’s recipe adds a slight twist to a tasty pork chop recipe that first appeared on the Gravel Road in October of 2014. A year ago, the pork chops used were bone-in, as you can see in the picture above. This time I wanted to clear out a few boneless pork loin chops from the freezer, but was worried that quick frying would make them to dry and tough.
So I placed the frozen chops in a brine of 2 cups water and 1/4 cup of pickling salt and let them sit all day–on the kitchen counter until they were thawed and then in the fridge until a 1/2 hour before supper. Then I poured off the brine, rinsed the chops several times, patted them dry, and followed the recipe below from then on.
The chops were as tender and moist as I’d hoped and as delicious as ever. This recipe is way too fast and easy for the taste punch it delivers. It’ll show up on our table several more times until grilling season arrives again!
Cilantro Pesto Pork Chops
2 cubes of frozen cilantro pesto, thawed 1/4 cup fresh pesto
4 pork chops, about 1/2 inch thick each
1 teaspoon packed brown sugar
1 teaspoon chili powder
1 tablespoon olive oil
Mix the brown sugar and chili powder together. Sprinkle on pork chops and rub mixture in with fingers. Flip chops over and do the same on the other side.
Heat 1 tablespoon oil in a 12-inch skillet over medium-high heat. Add pork. Cook for 5–7 minutes on each side, turning once, until they are no longer pink. Serve chops with cilantro mixture.