by jphilo | Jan 26, 2022 | Recipes, See Jane Run!
Ham and potato soup has been a favorite of ours for decades. When we lived in South Dakota, I made it with fresh milk that an old farmer sold for fifty cents a gallon.* We skimmed almost a quart of cream off every gallon and added some of that to the soup, too. My love of potato soup continues too this day, but making a dairy-free version to rival what I was used to before being diagnosed with a dairy allergy has been a struggle.
Until now.
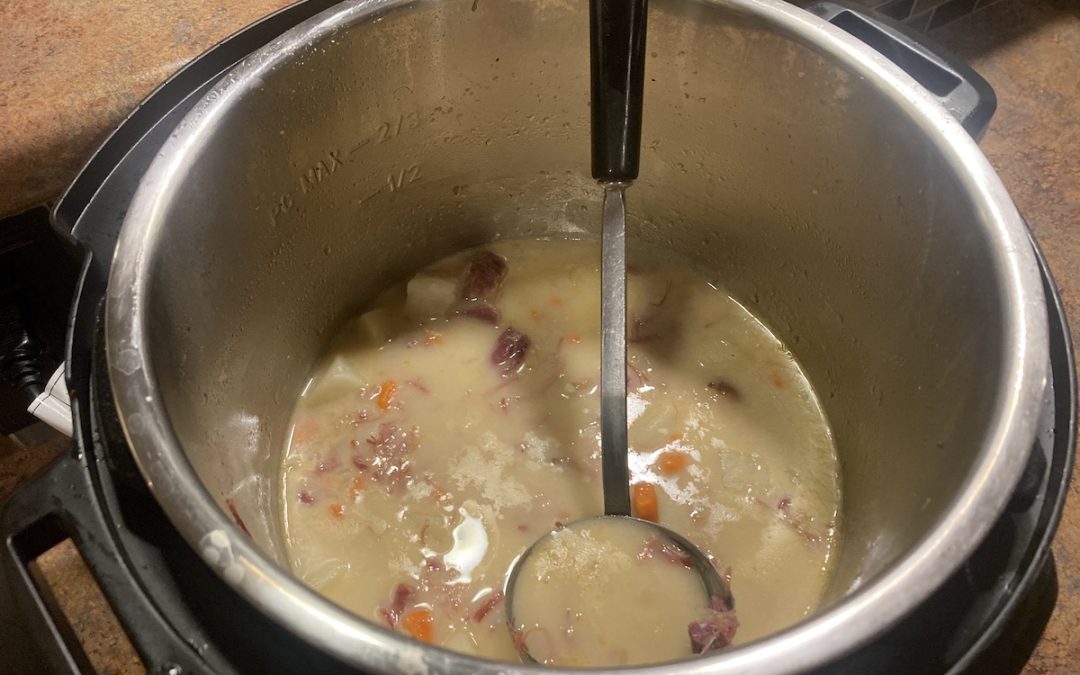
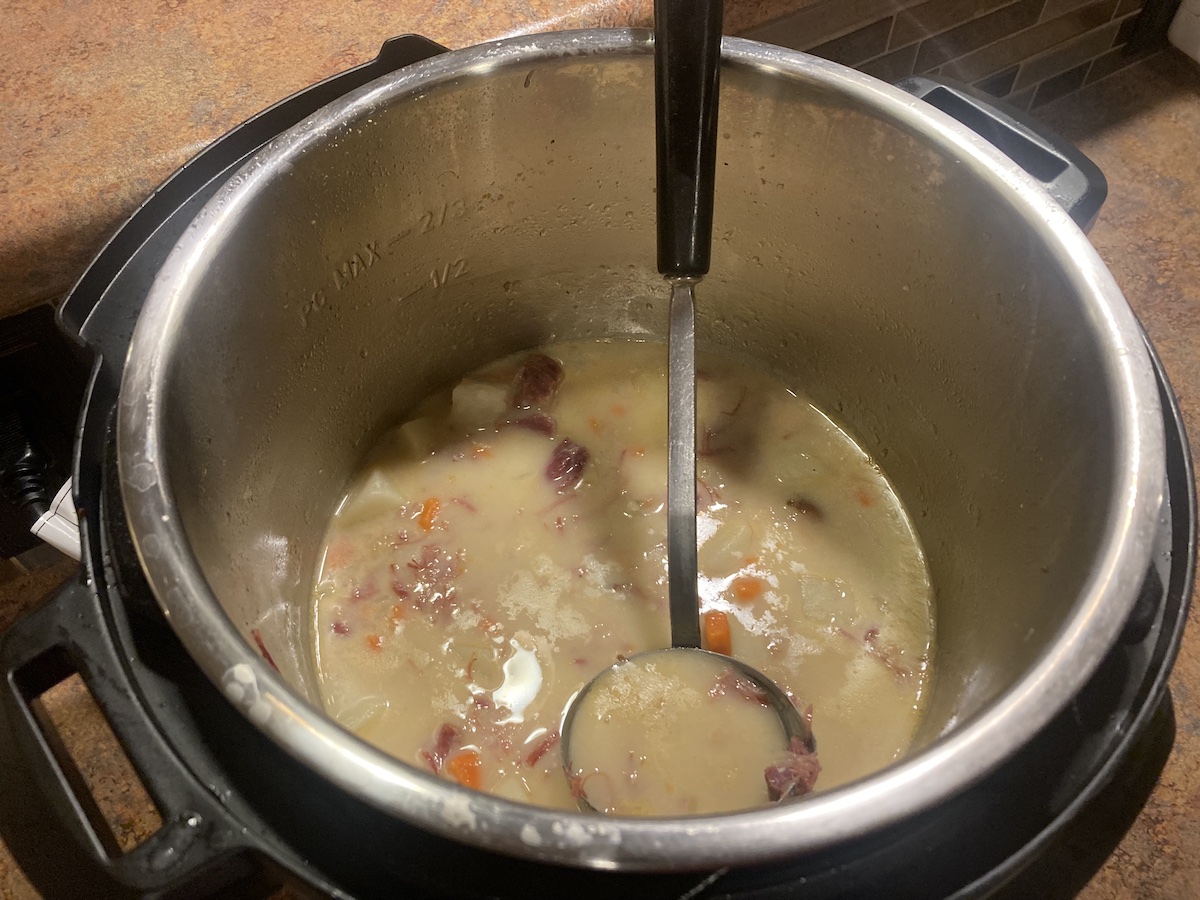
With the addition of our Instant Pot and my daughter’s knack for using cashews to make foods creamy, the ham and potato soup I served our family last night was a winner. We were so hungry before supper, I forgot to photograph the full pot. As you can see, there wasn’t much left! Also, I prepared the ham hocks in the Instant Pot the day before, a process which yielded the broth used in the soup.
Ham and Potato Soup in the Instant Pot
2 cups cooked, cubed ham or the meat picked off two cooked ham hocks
6 cups ham, chicken, or vegetable broth
2 pounds potatoes, peeled and cubed in 1/2-1 inch cubes
2 tablespoons Earth Balance butter substitute
1 large carrot, chopped
1 medium onion, diced
3 cloves garlic, minced
salt and pepper to taste
1/8 cup raw cashews
1 quart shelf stable coconut or oat milk
Soak the cashews in hot water for a few minutes. Put them in the blender with 1/2 cup of the coconut or oat milk and blend until smooth.
Using the saute setting on the Instant Pot, melt the butter substitute. Add the carrot, onion, and garlic. Saute until onions are transparent. Add the potatoes, ham, and broth to the pot. Season with salt and pepper to taste. (If using ham broth, you won’t need more salt.)
Secure the lid on the Instant Pot. Be sure the venting button is set to seal. Using the pressure cooking function, set the timer for 10 minutes. When the Pot beeps to signal the end of the 10 minutes, turn venting button from seal to vent to quick release the pressure.
When the pressure has been released, take off the lid. Turn on the keep warm function and add the blended cashews and the rest of the coconut or oat milk. Serve when the soup reaches your preferred temperature.
*The complete story of the farmer and his amazing milk cow, Snippy, made its way into See Jane Run! and the other books in my cozy mystery series. They are available on Amazon.
by jphilo | Feb 6, 2018 | Recipes
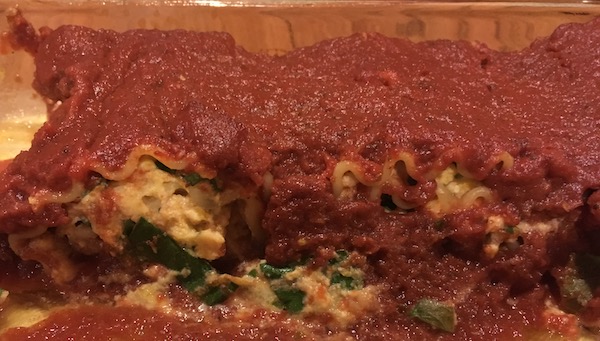
These dairy-free lasagna rolls made the Home Again Podcast short list of sanity-saving freezer meals. Anne created this recipe, and the non-dairy ricotta cheese substitute has the creamy texture that makes lasagna lasagna. If your family can eat dairy, just use ricotta in place of the almond/lemon juice/salt substitute. The ricotta freezes well, so no worries about making a double batch so one can go in the deep freeze.
Dairy-Free Lasagna Rolls
Ricotta Subsitute:
1 lb almonds
juice of 1/2 lemon
salt to taste
Soak almonds overnight and slip them all out of their skins. Puree with just enough water to keep your blender blending. (A Vitamix blender works best.) Once nuts are pureed to a smooth consistency, add lemon juice and salt until it tastes like ricotta cheese. Set aside.
Lasagna Rolls:
2 butternut squash
8 ounces fresh spinach, chopped
9 cloves garlic, crushed
salt
3 eggs, beaten
2 pounds cooked lasagna noodles
3 28 ounce cans of marinara sauce
Preheat oven to 350°. Cut squash in half the long way and scoop out seeds. Place squash halves, skins sides down on large cookie sheets. Bake in the oven until soft. Scoop out flesh, mash well, and combine with cheese substitute. Add the spinach, garlic, and eggs to the cheese substitute/squash mix. Add salt to taste.
Set out 3 9 x 13 (or smaller) casserole dishes. Spread cheese mix on cooked lasagna noodles and roll them up. Put 8 or 9 lasagna rolls in each casserole dish. Spread a can of marinara sauce over each pan of lasagna rolls. Bake 1 pan at 375° for about 30 minutes. Cover the other pans with foil after labeling the foil with a Sharpie marker.
These rolls are very filling. One pan feeds a family of five with no left overs. Add a green salad, and you have a complete meal!
SaveSave
by jphilo | Aug 10, 2016 | Recipes
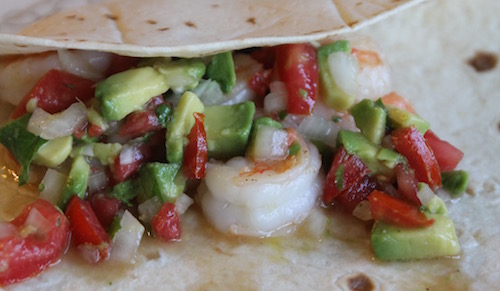
It’s takes a village to feed a high maintenance eater like me. So I’m thankful my village is populated with people like my big sister who keep their eyes open for delicious dairy-free recipes. She’s the villager who sent an email with this recipe for shrimp tacos. The dish is packed with vegetables that are plentiful during the summer months. Plus, it uses olive oil rather than butter to cook the shrimp and doesn’t suggest using cheese or sour cream as a garnish.
Because this recipe is truly dairy-free, there was no need to substitute ingredients or to omit others. Everyone at our house agreed it was delicious and a perfect meal to enjoy at the end of a lovely summer day. The tweaks I made are designed to keep the heat out of the kitchen in case a lovely summer day is also a hot one.
Shrimp Tacos
ingredients
1 pound raw shrimp. peeled and devaeined
1 lime, juiced
1 medium onion, chopped
1 medium tomato, chopped
1/4 cup cilantro, chopped
2 avocados, peeled and chopped
1/2 teaspoon kosher salt
1 1/2 teaspoons dry Cajun seasoning
1 tablespoon olive oil
12-6 inch tortillas
Directions
- Turn slow cooker on high. Wrap tortillas in foil and place in the slow cooker to warm for 30 minutes.
- Gently mix tomatoes, onion, avocados, cilantro, lime juice, and salt in a medium bowl. Set aside.
- Heat olive oil in a large skillet over medium-high heat. Add shrimp and sprinkle with Cajun seasoning. Saute for about 3 minutes, turning often until shrimp are pink and cooked through.
- Put shrimp, tortillas, and vegetable mixture in separate serving dishes for diners to assemble at the table.
Save
Save
by jphilo | Jul 27, 2016 | Recipes
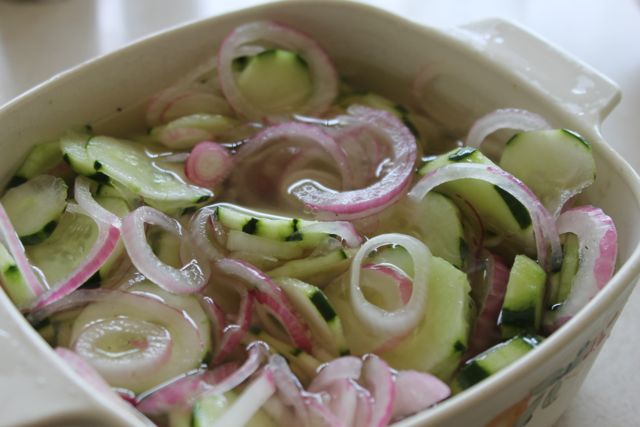
Thanks to our weekly CSA share, the vegetable bin is overflowing with cucumbers. So cucumber-onion salad is gracing our table almost daily. Because today is my birthday and I’m celebrating by not experimenting with a new recipe, I’m rerunning this one that was first featured on Down the Gravel Road in July of 2012. It’s easy, it’s tasty, it’s non-dairy, it’s low-cal, and the longer it sits in the fridge, the better it tastes. No wonder this recipe has been consistently discovered and repinned on Pinterest since the day it first appeared there.
Cucumber-Onion Salad
1 medium cucumber, peeled and sliced thinly
1 onion, sliced into thin rings*
1/2 cup white vinegar
1/2 cup water
2 teaspoons sugar
1 teaspoon salt
1/2 teaspoon coarse black pepper
Place vegetables in a small serving bowl. In a smaller bowl or measuring cup, mix vinegar, water, sugar, salt and pepper. Stir well and pour over vegetables so they are completely covered with liquid. Cover tightly and refrigerate until ready to serve. This salad can be stored for several days or a week in the fridge.
I try to make it at least 8 hours before serving so the flavors can meld and the vinegar has time to pickle the vegetables a little. Also, more cukes and onions into the brine after the original veggies are gone. I usually do that once before discarding the brine and making a completely new batch.
*I used red onions, which is why the salad looks so pretty in the picture, but any type of onion is fine.
Save
by jphilo | Jun 15, 2016 | Recipes
Just a few weeks ago, I posted my recipe for low sugar rhubarb crisp. Until today, it was the most recent installment in a Gravel Road unintentional series of crisp recipes such as blueberry crisp, apple crisp, and strawberry-rhubarb crisp.
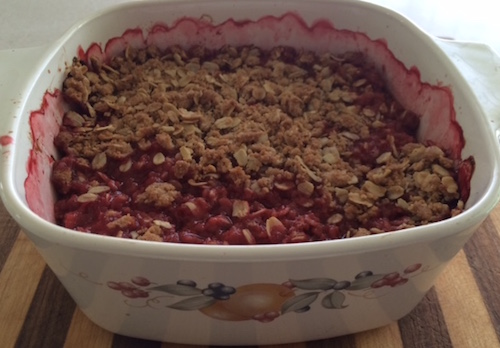
But not anymore. Because strawberries were on sale at the grocery store last week, so I bought several boxes to make strawberry-rhubarb crisp. The son-in-law is not a big rhubarb fan, though he said he thought a strawberry crisp would be just fine. Here’s the recipe I fabricated, and which he said was mighty fine.
Strawberry Crisp
6 cups washed strawberries, hulled & sliced
1/3 cup softened, non-dairy, softened non-dairy shortening substitute like Earth Balance
1/4 cup brown sugar
3/4 cup flour
3/4 cup oatmeal
1 teaspoon cinnamon
Heat oven to 375°. Place strawberries in 2 quart baking dish. In medium bowl, mix all dry ingredients. Cut in shortening until mixture is crumbly. Sprinkle on top of fruit. Bake for 30-45 minutes until fruit is bubbly. Serve warm.