by jphilo | Jan 5, 2022 | Recipes
Caramel apple dip used to be a favorite snack at our house. But once the kids were grown and my dairy allergy was diagnosed, I quit making it.
I missed it. Oh my how I missed it.
I was resigned to life without this treat until my daughter-in-law made a chance comment when we were together for Christmas. My daughter and I mentioned that Baker’s Pantry–a Mennonite grocery store we frequent because they sell 40-50 pound bags of all manner of bread baking staples–carries Watkins extracts.
That’s when my daughter-in-law said, “We used to mix their caramel extract with a little brown sugar and cream cheese to make apple dip.”
That’s when the lightbulb lit up in my brain. From the expression on my daughter’s face, I think she had a lightbulb moment too. We immediately added Watkins caramel extract to our Baker’s Pantry grocery list for the shopping trip we had scheduled for New Year’s Eve morning.
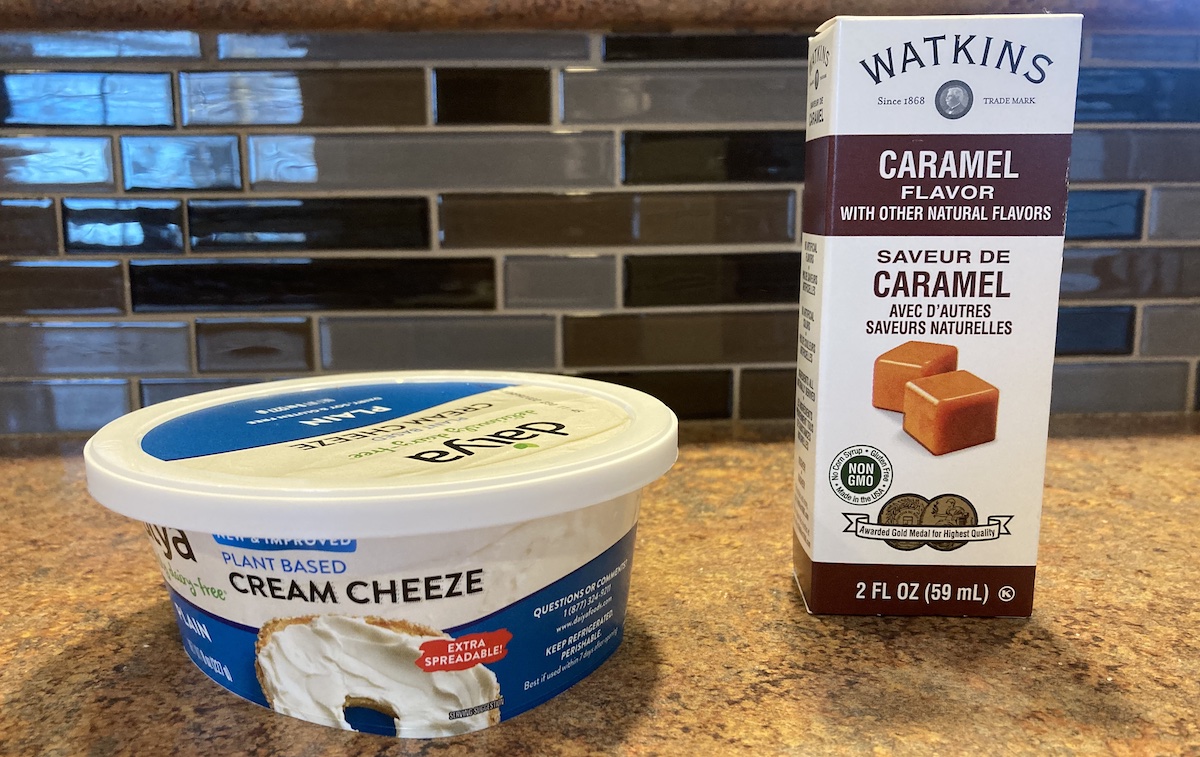
On the way home from Baker’s Pantry, we stopped at Hy-Vee, an Iowa-based grocery chain. They carry just about everything, including Daiya cream cheese substitute made from coconut. Most cream cheese substitutes are soy-based, and our granddaughter can’t have soy. (As I’ve said before, with her soy issues and dairy issues for 5 of the 6 people in this house, we are that family.)
A couple nights ago, I made the caramel apple dip and served it for dessert. It was a big hit. With everybody. Absolutely delicious. There are not enough superlatives to do the dip justice. And it was so easy. Incredibly easy.
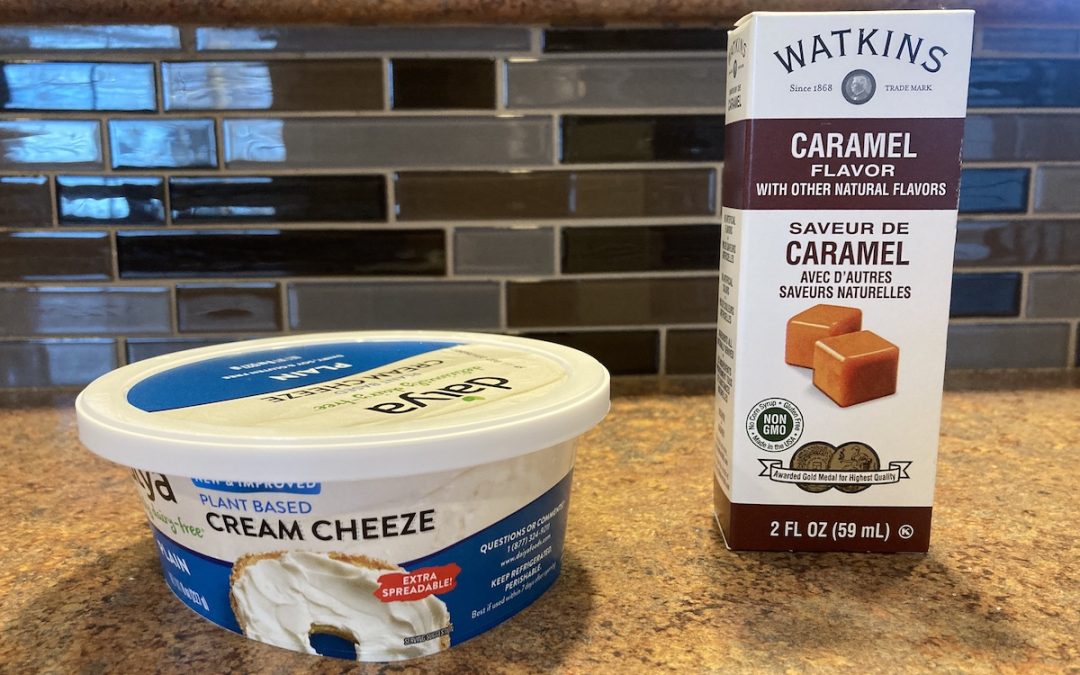
You’ll find the recipe below. Use regular cream cheese if dairy isn’t an issue for you. Use one of the soy-based substitutes if that works at your house. However, you have to use Watkins caramel extract or the flavor superlatives won’t apply.
Dairy-Free Caramel Apple Dip
8 ounces Daiya cream cheese substitute at room temperature
1/2 teaspoon Watkins caramel extract
2 tablespoons brown sugar
Put the cream cheese substitute into a bowl and mash it with a fork to loosen. Add caramel extract and brown sugar. Continue mashing with a fork and mixing until smooth. Refrigerate until serving it with apple slices.
by jphilo | Sep 23, 2015 | Recipes
A couple weeks ago, a friend gave us oodles of apples from an apple tree that blew over in the wind. After they were delivered, the Man of Steel helped me freeze a whole bunch of applesauce, 3 apple pies, and 2 dozen apple dumplings. You’ll find the recipe for apple dumplings below.
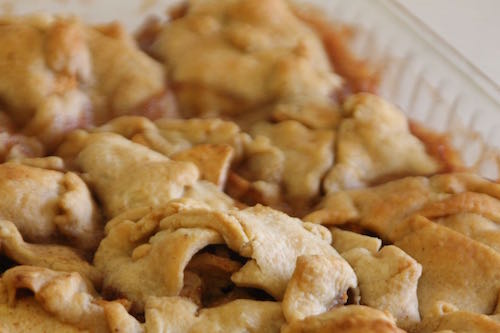
Mom’s Apple Dumplings
Step 1: Make a batch of Grandma Conrad’s Never Fail Pie Crust. Let it sit for at least 10 minutes.
Step 2: In a saucepan, combine 2 cups water, 1/2 cup sugar, 3 tablespoons butter (or Earth Balance Vegan Stick for a non-dairy version), and 1/4 teaspoon cinnamon. Bring to a rolling boil. Remove from heat and set aside.
Step 3: Peel, core, and slice 6–8 cups of apples. Put them in a large mixing bowl. Add 1/4 cup of sugar and 1 1/2 teaspoons cinnamon. Mix together until apples are coated with sugar and cinnamon.
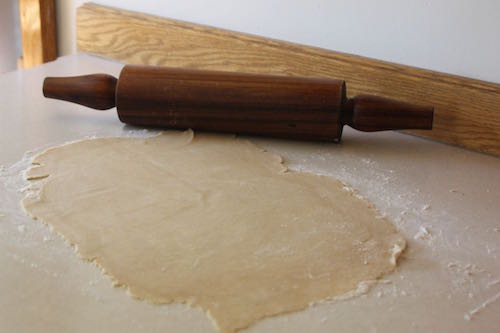
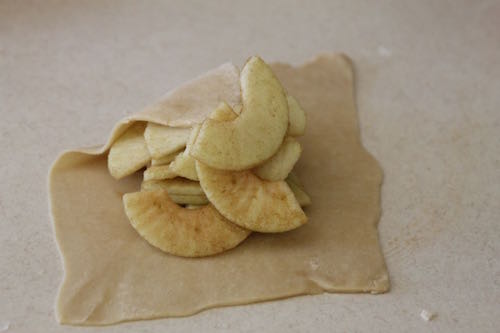
Step 4: Preheat the oven to 425 degrees. Take 1/4 of the pie dough and roll it into a rectangle about 15 inches long and 8 inches wide.
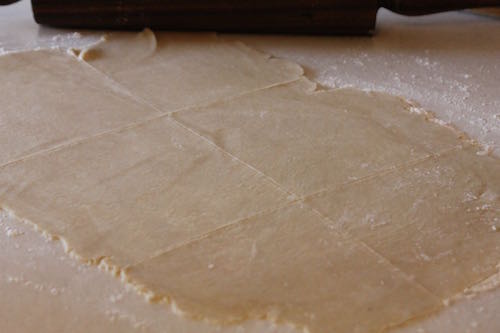
 With a paring knife, cut the dough into 6 pieces.
 Fill each section of dough with as much of the apple mixture as it can hold.
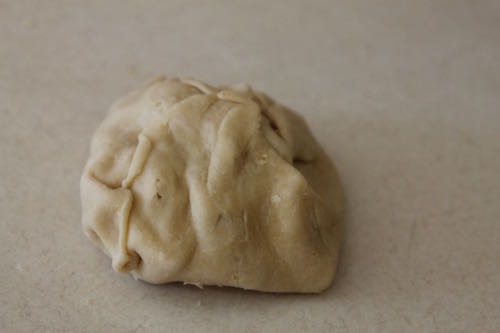
 Fold the dough up and around the apples.
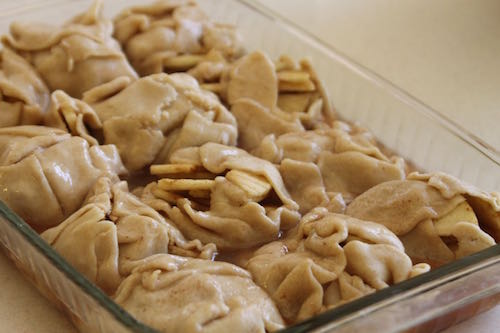
 Place 12 dumplings in a 9 x 13 inch baking pan. Pour the syrup over the dumplings.
 Bake the dumplings at 425 degrees for 15 minutes. Turn the oven down to 350 degrees. Continue baking for 30–35 minutes until the apples are soft when a fork is inserted into one of the dumplings.
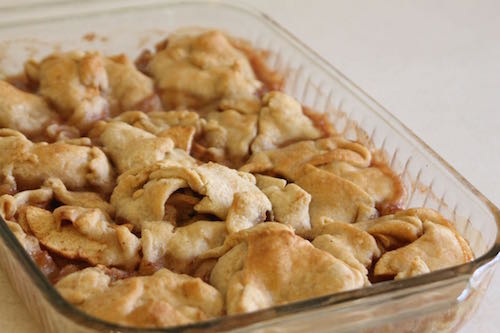 Cool and serve with ice cream, milk, or half-and-half.
by jphilo | Dec 17, 2014 | Uncategorized
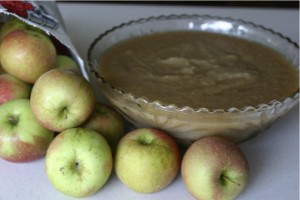
With Camp Dorothy in full swing, and its namesake not too excited about getting 5 servings of fruits and vegetables, I was delighted to pick up a half peck of Golden Delicious apples from the cart of clearance produce at our local grocery store. Each piece of fruit had a blemish or bruise, perfect for making homemade applesauce. Also, homemade applesauce means the cook can control the amount of sugar added. Which in this case was very little since Golden Delicious is a sweet variety of apple. Here’s how to make it.
Ingredients:
1/2 peck of apples
sugar to taste
cinnamon to taste
Steps:
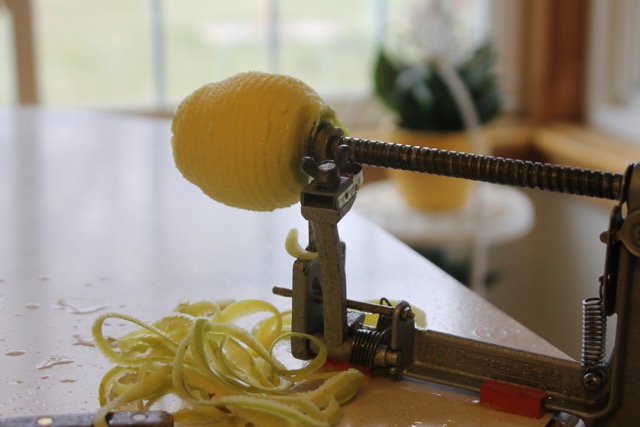
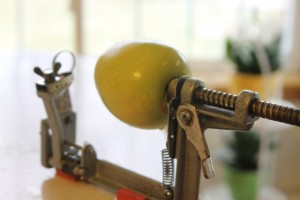 First, wash, peel, quarter and core apples. Or use a handy-dandy apple peeler-corer to make the job easier.
 This much easier. Just cut the peeled apple in two, and you’re hand will be full of thin, beautifully sliced apples
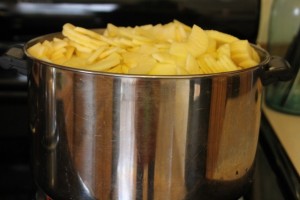
Second, rinse sliced apples. Cover bottom of a large pot with 2–3 inches of water and add the apples.
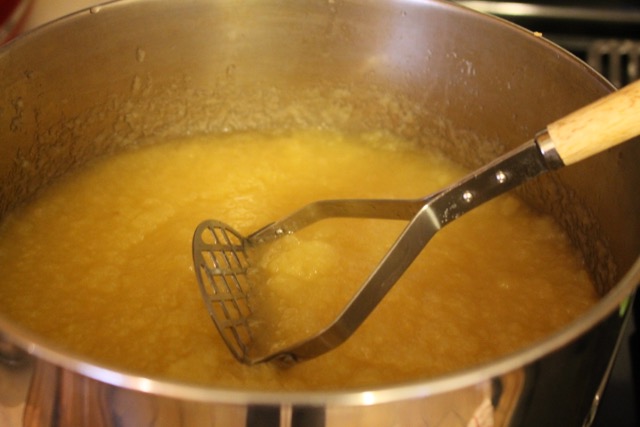
 Third, put the pot on the stove over medium-high heat. Bring pot to a boil, turn down to simmer, and cover. Cook for about an hour, stirring occasionally…until the apples are cooked down and fall apart.
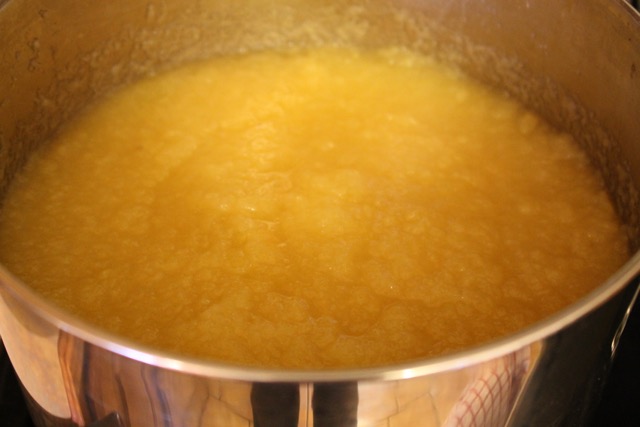
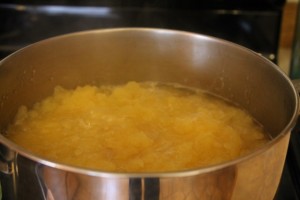 Like this.
Then, turn off heat and mash the apples with a potato masher to the consistency you desire.
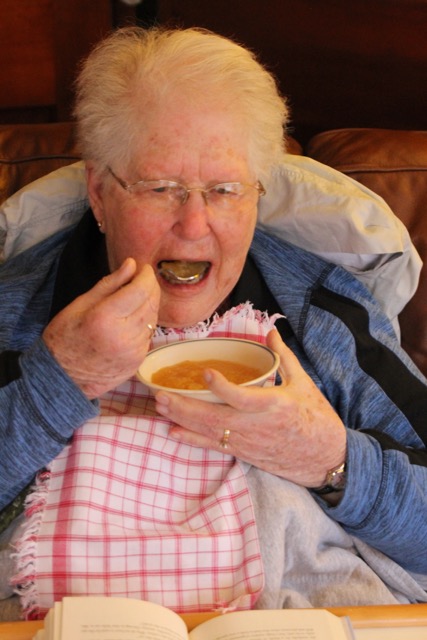
 Finally, add cinnamon and sugar to taste. Consider engaging a taste tester for quality control.
 Pour into a serving bowl and serve warm or cold. Store in the refrigerator. Or ladle sauce into freezer containers. When thawed, frozen applesauce tastes as fresh as the day it was made!
by jphilo | Oct 9, 2013 | Recipes
The good news is that we are done processing our portion of this year’s bumper crop of apples. (Insert crowd-going-wild noise here.)The bad news is that all the appl-ing left little time for trying new recipes for the second week in a row. (Insert groans of disappointment here.)
In light of this week’s good and bad news, today’s recipe for homemade applesauce is a variation of the crockpot applesauce, which debuted on this blog in November of 2011. Because I made so much applesauce this time around, I put the apples in our big soup pot instead of crockpot, so the directions below are slightly different from those for Crockpot Applesauce.
Homemade Applesauce
15–30 medium apples 2-3 cups water
¼ – ½ cup sugar (to taste) 2–4 teaspoons cinnamon
Scrub apples with vegetable brush. Quarter each apple (do not peel or core) and put them in large soup pot. Add water. Cook for 3–3 hours, stirring occasionally, until apples are soft and mushy. Place colander* over a large mixing bowl. Ladle cooked apples into a colander and press them through. When finished, stir sugar and cinnamon (to taste) into sauce. If sauce is thick, add a little water. Serve warm or cold. Store in the refrigerator for a week or freeze some to enjoy later.
If you prefer chunky applesauce, peel, core and slice the apples before putting them in the soup pot. Once the apples are soft, don’t run them through the colander. Just add sugar and cinnamon, and you’re done.
*This kind of colander:
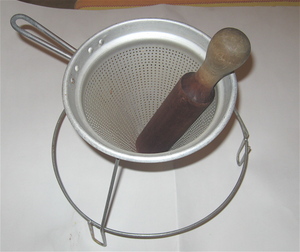
Photo Source
by jphilo | Oct 2, 2013 | Recipes
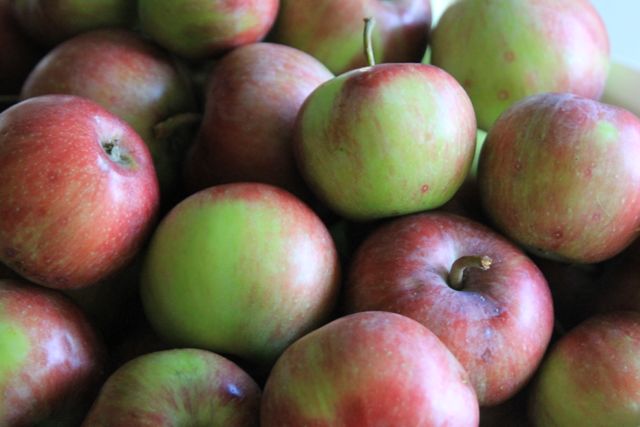
Hiram and I have been doing the Pa and Ma Ingalls thing for about a week now. Ever since our neighbor invited us to pick all the apples we wanted from their overloaded tree. We picked apples for about half an hour, and our efforts barely made a dent in the crop.
Even so, we’ve been busier than the crew in the little cabin in the big woods, making applesauce and freezing pie apples. With the freezer full to bursting, we had to come up with something else to do with all the apples. So we dug out the food dehydrator from the basement, cleaned it up, and put it to work.
All this apple-ing doesn’t leave much time to cook, so instead of a recipe, today’s post is dedicated to illustrating the process of drying apples. Here goes.
First, buy an apple peeler. (Ours is a Pampered Chef model via a garage sale.) Then set it up according to the instructions, and start peeling apples.
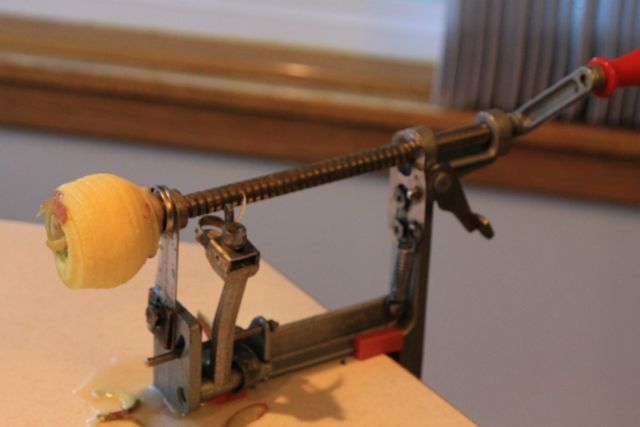
Once you pop the apple off the contraption, trim remaining bits of peel off the ends. Then slice through the apple spiral. Separate them into rounds and spread them on the dehydrator trays.
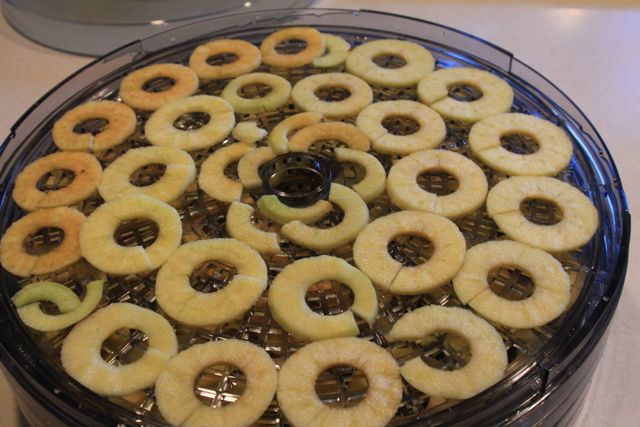
Stack the filled trays and place them on the base of the dehydrator. (Ours is another garage sale find.) Put the lid on top, and turn on the dehydrator. To facilitate more even drying of the apples, about halfway through reverse the order of the trays.
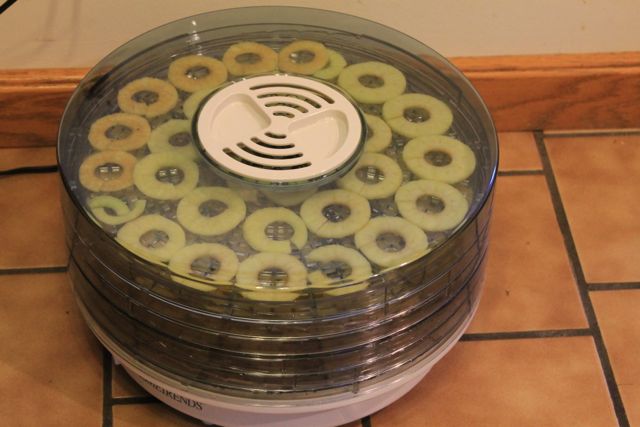
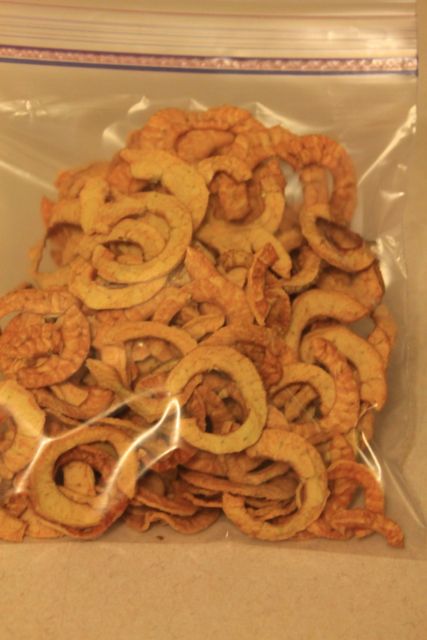
Let the dehydrator run until the apples are dried and shriveled–this step takes hours and hours–like this.

Pack the apples in an airtight container or zippered plastic bag for easy snacking.
Any questions? Any other food dehydrating tips? Leave a comment.